World Editor
intermediate how toVoxel Play 4 comes with many new additions, features optimizations and improvements in previous tools. One of the best features is the “World Editor”, which allows users to build their own voxel world with the help of several tools. Keep reading to discover all these tools, and watch our in depth video below to understand how they work.
The first step is to activate the “Render In Editor” option to enable the world in Scene View. From here, you can start editing the world with the tools grouped in the File, Structs, Terrain, Paint, Capture and Other tabs:
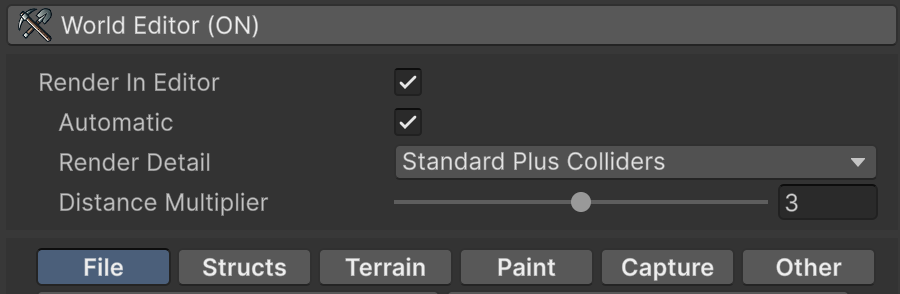
- File:
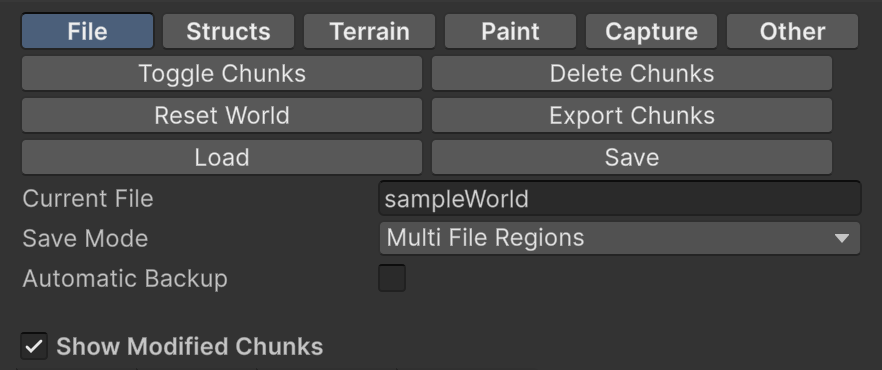
Toggle, delete, reset and export the chunks of the world, and load or save the world to the file set in Current File. Save Mode chooses between region files and a single file, Automatic Backup keeps a copy of the previous savegame, and Show Modified Chunks lists the edited chunks so you can locate them in the Scene View.
- Structs:

- Floor: Create a flat floor of the chosen voxel with the given width and depth.
- Wall: Create a wall with adjustable width, height and thickness.
- Room: Create a room with walls, floor and ceiling, each with its own voxel, optional entrances on any wall and an optional crenelation on top.
- Tower: Create a cylindrical tower with walls, floor and ceiling, an optional entrance and an optional crenelation on top.
In all of them R rotates the structure (in the Tower tool, its entrance) and holding SHIFT keeps the altitude of the first placement.
- Terrain:
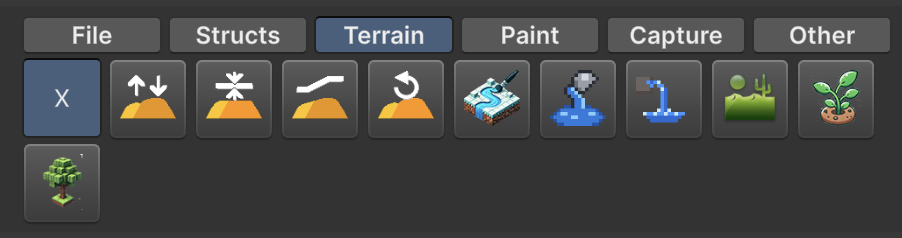
- Rise Lower Terrain (Hold SHIFT to lower): It allows you to rise the terrain with option to set it to continuous drawing and also lower it.
- Rise/Lower terrain to specific altitude: Define an altitude to where terrain should be risen or click from the center voxel.
- Smooth terrain altitude: The terrain will draw from the center voxel where you first clicked.
- Regenerate Chunks: The clicked area will restore to default chunks before being edited.
- Paint Rivers: Hold click and drag to paint a river or lake.
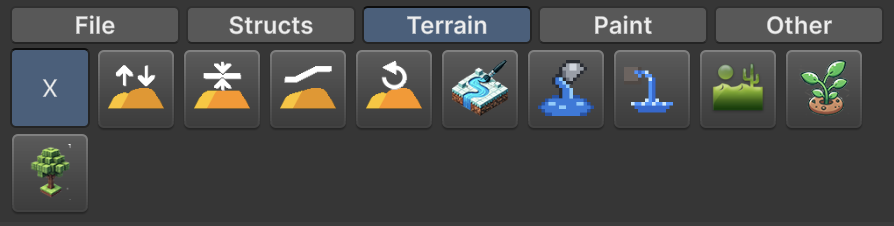
- Water Fill: Click inside an enclosed basin to flood it with water up to the clicked level. Hold SHIFT to drain the clicked water body.
- Water Source: Click to pour a deterministic cascade from that point, a falling column plus the pools where it lands. Hold SHIFT to drain the clicked water body.
- Paint Biome: Paint the top and dirt voxels of the terrain with the chosen Biome Definition, optionally adding its vegetation and trees.
- Spawn/Remove biome plants: Draw plants based on the biome and hold SHIFT to remove them.
- Spawn/Remove trees: Draw trees based on biome or remove them holding SHIFT.
- Paint:

- Box Selection: Click two corners to select a box, then copy, cut, paste (R rotates the pasted contents) or delete it, or fill, replace or regenerate it with the buttons in the inspector. See Box Selection: Regenerate.
- Add/Grow Voxels: Build voxels based on existing voxels or based on voxel definition models.
- Add Half Voxels: Place half voxels (slabs); B toggles between the top and bottom half.
- Remove/Destroy Voxels: Define brush size and remove voxels or micro-voxels.
- Paint Existing Voxels: Define a voxel definition that will paint over and existing voxel.
- Spawn Model Definition: Click to spawn a model definition in a specific area. Use Rotation to turn the model in 90 degree steps and Fit Terrain to drop it onto the terrain height. Enable Clear Inside to empty the model interior as it is placed: in every column covered by the model, any terrain, vegetation, water or other voxel found below the top of the model is removed, so cellars, rooms and the space under overhangs stay clear instead of keeping the ground that was already there. The model asset is not modified.
- Place/Remove Torches: Click a voxel face to attach the selected torch and hold SHIFT to remove it. See Torch Tool.
- Capture:

- Capture Model: Define the area of capture and save its contents as a Model Definition, ready to spawn with the “Spawn Model Definition” tool.
- Create Voxel Definition: Click an existing voxel to save a copy of its Voxel Definition, including its micro-voxels shape.
- Create MicroVoxels Definition: Click a voxel with micro-voxels to save its shape as a MicroVoxels Definition. See Capture Tools.
- Other:
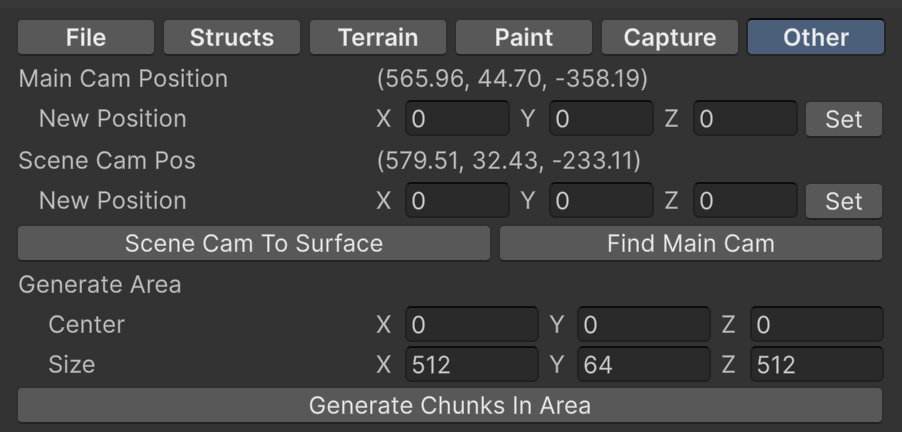
Shows the position of the main camera and of the Scene View camera, and lets you move either of them to exact coordinates. Scene Cam To Surface brings the Scene View down to the terrain surface under its pivot, and Find Main Cam frames the main camera in the Scene View. Under Generate Area, set a center and a size and press Generate Chunks In Area to build every chunk in that volume at once; this turns off Automatic generation around the camera, and the area cannot need more chunks than the pool size.
Water Fill
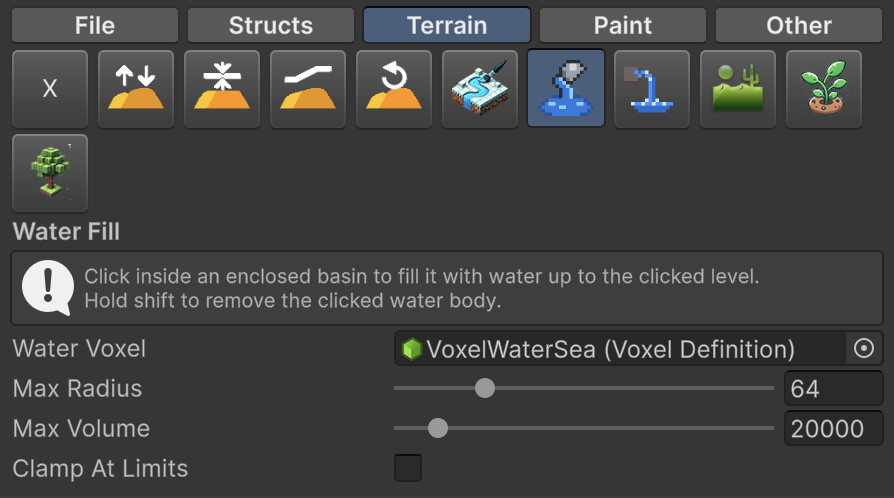
Click inside an enclosed basin and it is flooded with water up to the level you clicked, in a single operation. Before anything is written, the tool draws the resulting surface as a translucent water sheet so you see the exact lake you are about to create, and the label under the cursor reports the fill level and how many voxels it takes. The surface level matches the sea water convention, so a lake made with this tool sits flush with the rest of the world's water.
Hold SHIFT to do the opposite: click any water voxel and the whole connected body is drained.
If the basin is not watertight the flood escapes. The tool detects it, marks the cells where the water is leaking out, and warns you in the label instead of silently flooding the map. Aim lower, raise the limits, or turn on Clamp At Limits to fill anyway.
| Setting | Description |
|---|---|
| Water Voxel | Liquid voxel definition used for the fill. Defaults to the world's current water voxel. |
| Max Radius | Maximum horizontal distance from the clicked position the fill can reach (8 to 256). |
| Max Volume | Maximum number of voxels the fill can paint (1000 to 200000). |
| Clamp At Limits | Fill anyway when the basin is not enclosed, stopping at Max Radius / Max Volume. |
Water Source
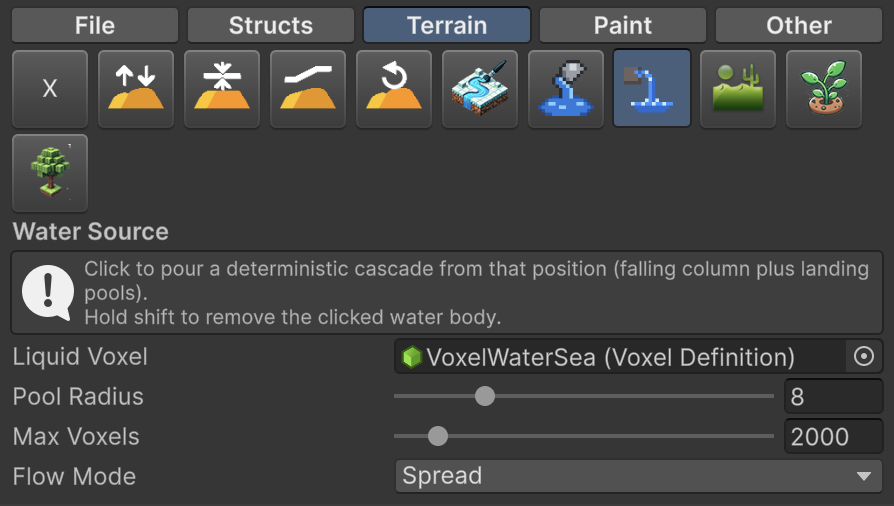
Click anywhere and a liquid is poured from that point as a deterministic cascade: a falling column plus the pools formed where it lands, re-spilling at the edges into lower tiers. This is the editor front end of the VoxelPour API, so the result is painted once and is never enrolled in the runtime water simulation. The cascade is previewed as a translucent sheet before you commit, and holding SHIFT drains the clicked water body exactly as in Water Fill.
| Setting | Description |
|---|---|
| Liquid Voxel | Liquid voxel definition to pour. Water or lava both work. Defaults to the world's current water voxel. |
| Pool Radius | Maximum radius of each landing pool (1 to 32). Exposed banks and unsupported spill lips taper down to minimum height. |
| Max Voxels | Total budget of liquid voxels the cascade can paint (100 to 20000). The preview changes color when the budget runs out. |
| Flow Mode | Spread floods each landing evenly up to Pool Radius. Shortest Path floods each landing only until the nearest descent, giving narrow runs on slopes, ponds bounded by their drain on flats, and the full radius only where there is no drop at all. |
Watch the full walkthrough video of these settings:
Box Selection: Regenerate
The Box Selection tool includes a Regenerate operation: assign any terrain generator and press Execute Regenerate to repaint all chunks intersecting the selection with it. The operation works on whole chunks, supports undo, and the result persists in savegames as user edits while the rest of the world keeps answering to the main generator. Use the assigned generator's Ground Offset to align its altitudes with the surrounding terrain.
Torch Tool
The Torch tool in the Paint tab places torches directly in the Scene View, without entering play mode.
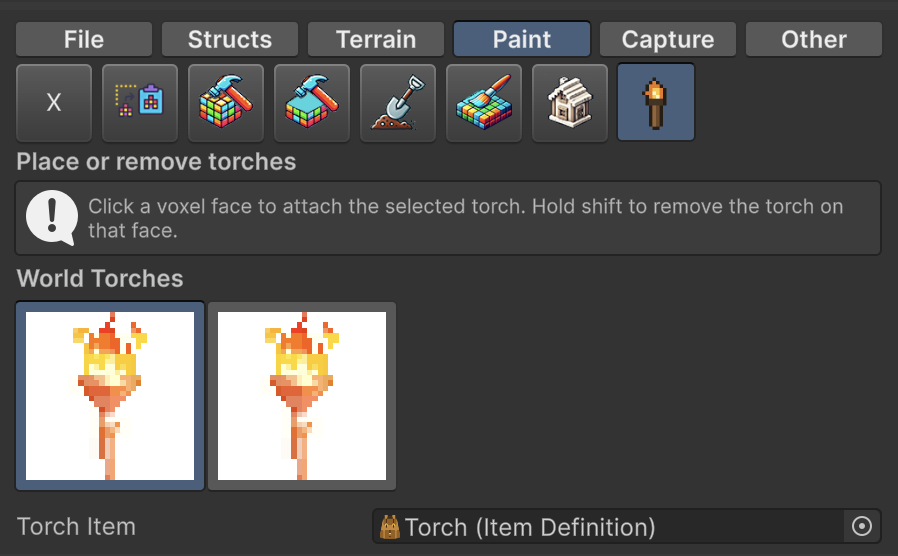
- The inspector shows every torch item known to the world: Item Definitions of category Torch listed in the World Definition items or found in the world Resources folder. The first one is selected by default; click another to switch.
- You can also drop a torch Item Definition in the Torch Item field. If it is not part of the world, the tool offers to add it to the World Definition items, so torches of that type are restored when the world loads.
- Click a solid voxel face to attach the torch to it. Hold SHIFT and click the face to remove it.
- Undo and redo restore torches, including the ones removed together with the voxel they were attached to.
- Torches are saved with the world like the ones placed in play mode, also when they hang from a voxel on a chunk border.
In the Scene View you see the voxel light cast by the torch. Its point light is only managed in play mode. Resetting or regenerating a chunk removes the torches attached to its voxels.
Capture Tools
The Capture tab groups the tools that create assets from the world. Assets are created in the root of the Assets folder with the file name set in each tool.
- Capture Model: move the mouse over the world to place the green capture grid and click to fix or release its position. Capture Size (up to 32 voxels per axis) and Capture Offset update the grid immediately, also when it is fixed. Capture Model saves the voxels inside the grid as a Model Definition, Clear Contents removes them (with undo), and Remove Grid deletes the grid. Enable Capture Tint Colors to keep the per-voxel tint.
- Create Voxel Definition: click a voxel to save a copy of its Voxel Definition. If that voxel has a micro-voxels shape, the copy keeps it.
- Create MicroVoxels Definition: click a voxel with micro-voxels to save its shape as a MicroVoxels Definition asset.
Suggest an improvement
Help us improve this documentation page.