Quick Start
beginner quick startThis guide takes you from a fresh browser tab to a textured voxel placed in a Voxel Play 4 scene.
1. Open Voxel Studio
Go to kronnect.com/apps/voxelstudio. Sign in with the Kronnect account that owns your Voxel Studio Annual Pass. If you own Voxel Play, you can also claim a free one-month trial from the access panel.
2. Pick or create a shape
Click the Custom Voxels tab on the left sidebar. Either select an existing card from the catalog or click the large + Create new tile to open the editor.
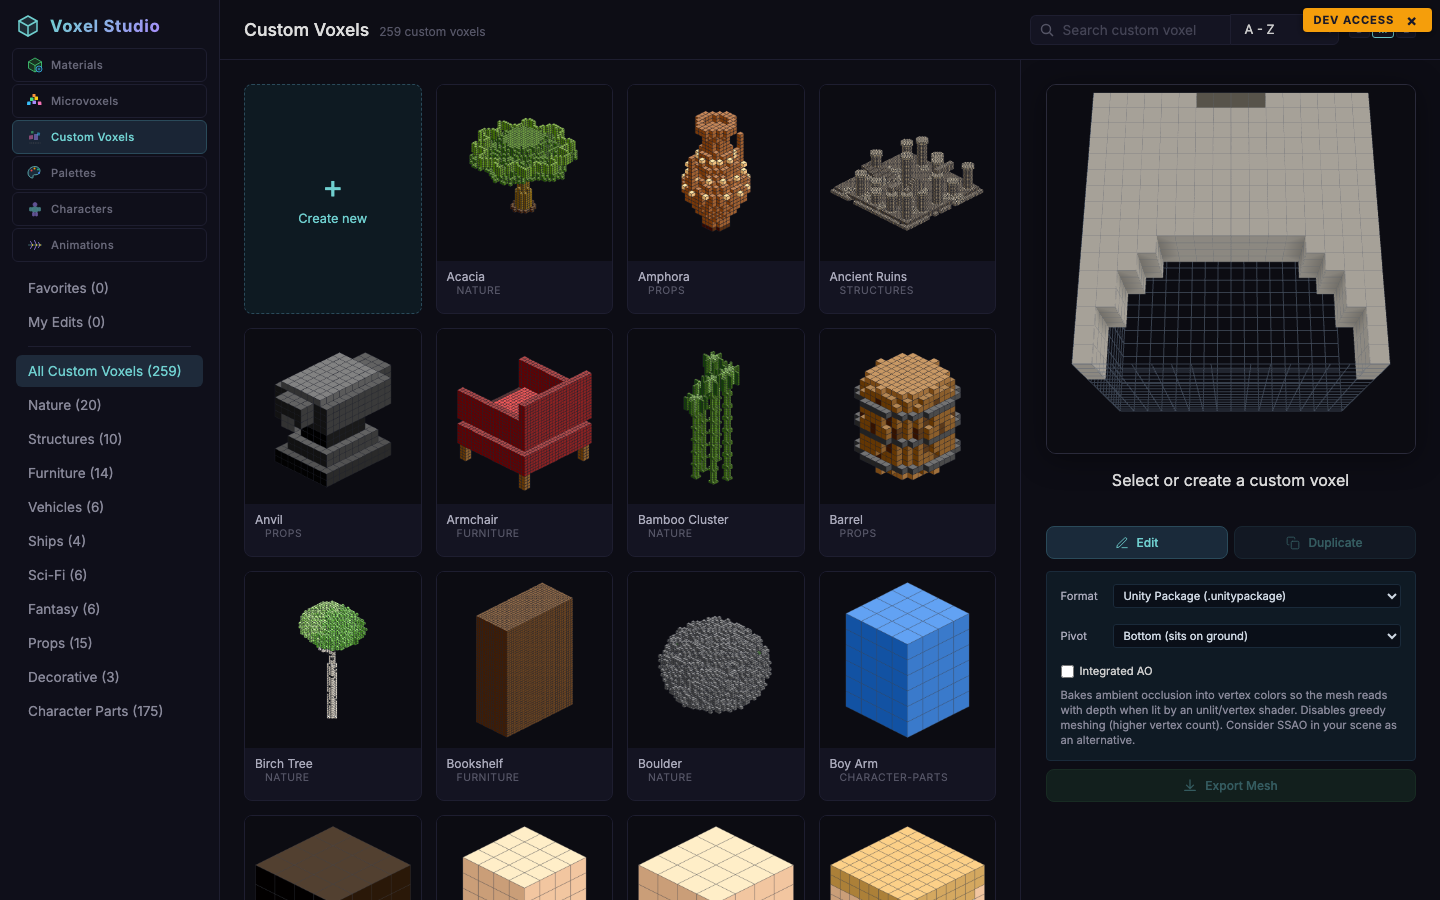
Edit colours, paint cells and pick a grid size. Save when you are happy. The new voxel appears under My Edits.
3. Export to Unity
With your voxel selected, use the Export Mesh panel on the right:
- Format: leave on Unity Package (.unitypackage).
- Pivot: leave on Bottom (sits on ground) unless you are modelling a floating or hanging prop.
- Integrated AO: optional, see Exporting to Unity.
Click Export Mesh. Your browser downloads a .unitypackage that contains the mesh, prefab, material(s), texture and a pre-wired VoxelDefinition.
4. Import and place
In Unity, drag the package into the Project window. Assets land under Assets/Voxel Studio/. In your Voxel Play 4 scene, open the World Editor, pick the Build tool, drag the imported VoxelDefinition asset into the Voxel slot and click anywhere on the terrain. The model sits flush on the ground.
Suggest an improvement
Help us improve this documentation page.