Style Settings
Lines Plus for Unreal · Style Settings
The style is the look of a line. Every line has its own style, or uses a Lines Plus Style asset that many lines share. The settings are the same in both cases, in six groups. A group shows a dot next to its name when the line uses it.
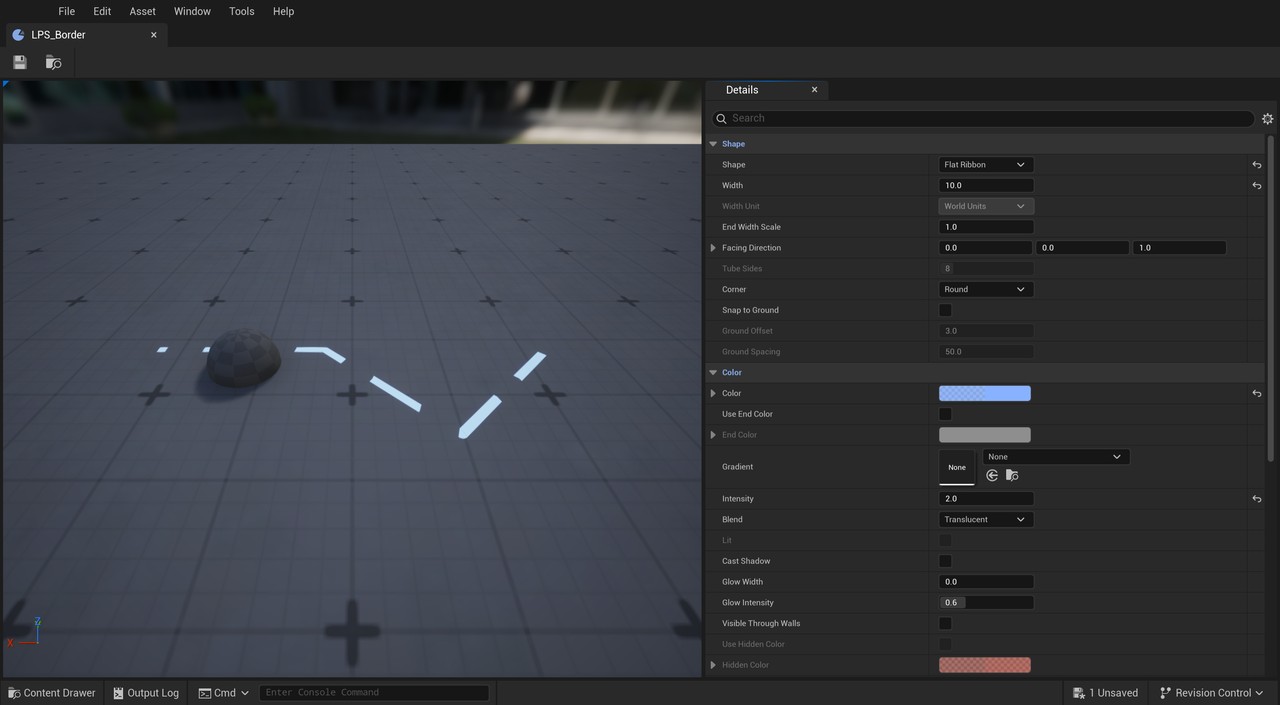
Shape
| Setting | Description |
|---|---|
| Shape | Ribbon Facing Camera is a flat band that always faces the camera. Flat Ribbon is a flat band that faces a fixed direction, for example a path on the ground. Tube is a round stroke with volume. |
| Width | The width of the line, in world units or in screen pixels. |
| Width Unit | World Units makes far lines look thinner. Screen Pixels keeps the same width at any distance. Screen pixels work with the ribbon that faces the camera. |
| End Width Scale | The width at the end of the line, relative to the width at the start. 1 keeps the same width. |
| Facing Direction | The direction that the flat ribbon faces. |
| Tube Sides | The number of sides of the tube. |
| Corner | The shape of the corners of ribbons and flat ribbons. Round draws round corners. With Sharp, the sides of the line meet in a point, and corners sharper than 120 degrees are cut. Flat cuts the corner with a straight side. With a pattern or a texture, round corners and curves are drawn as smooth arcs, so dashes, dots and arrow shapes keep their shape around them. |
| Snap to Ground | Places the points of the line on the ground under them. It works with the draw nodes and with line actors, not with links or segments. The line looks for the ground again each time its points change. The ground is the first surface with collision that blocks the Visibility channel, from 1,000 units above each point to 10,000 units below it. |
| Ground Offset | The height of the line above the ground. |
| Ground Spacing | The largest distance between the points that the line places on the ground. A smaller distance follows the ground better and needs more traces. |
Color
| Setting | Description |
|---|---|
| Color | The color of the line. Its alpha is the opacity. |
| Use End Color | Uses a second color at the end of the line. |
| End Color | The color at the end of the line. |
| Gradient | A Color Curve asset with the colors and the alpha along the line. The time of the curve goes from 0 at the start of the line to 1 at its end. When it is set, it replaces Color and End Color. To create the asset, click Add in the Content Browser, then Miscellaneous > Curve, and select CurveLinearColor. |
| Intensity | The brightness of the color. Values above 1 glow when the project uses bloom. |
| Blend | Opaque lines hide what is behind them. Translucent lines use the alpha of the color and have smooth edges. Additive lines add their color to the image, for light effects. |
| Glow Width | The size of a glow around the line, relative to the width of the line. A value of 0 draws no glow. It works with translucent and additive ribbons, and it does not need bloom. A line with glow is drawn a little closer to the camera, so the surfaces that it touches do not cut the glow. The glow has the same width all around the line, also around arrows and bars. |
| Glow Intensity | The brightness of the glow next to the line. |
| Lit | The line receives the light of the scene. It works with opaque flat ribbons and tubes. |
| Cast Shadow | The line casts a shadow. It works with opaque and translucent lines. |
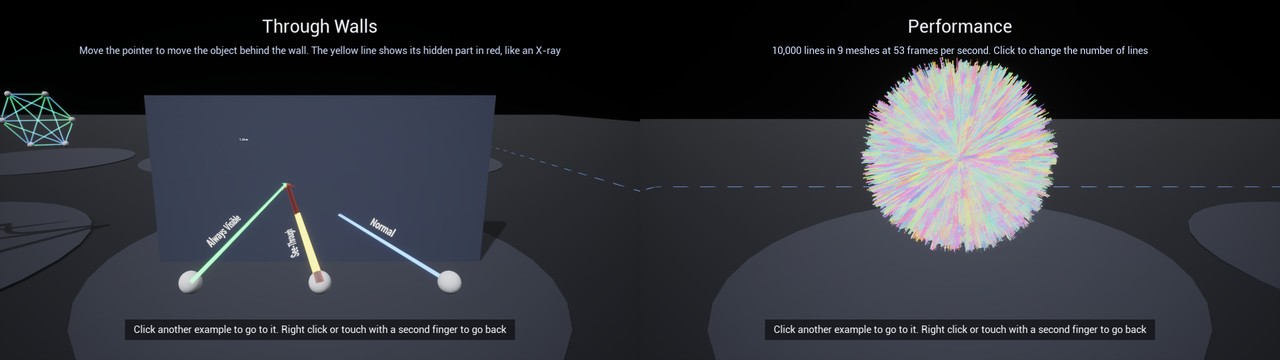
| Visible Through Walls | Shows the line also behind other objects. |
| Use Hidden Color | Uses another color for the part of the line that is behind other objects. It needs Visible Through Walls. |
| Hidden Color | The color of the part of the line that is behind other objects. Its alpha is the opacity, multiplied by the opacity of the line. |
| X-Ray | Shows the volume of the hidden part. A value of 0 paints the plain color, and 1 gives bright edges and a dark center. |
| Material | A material used instead of the materials of the plugin. To make your own material, copy one of the materials of the folder Materials of the plugin and change the copy. |
Pattern
| Setting | Description |
|---|---|
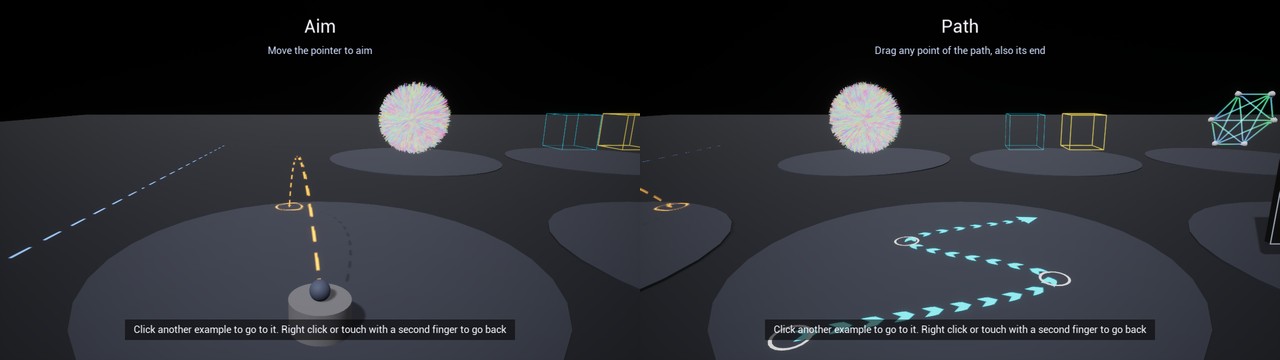
| Pattern | Solid, Dashed, Dotted or Chevrons. Chevrons are arrow shapes that point to the end of the line. |
| Dash Length | The length of each dash or arrow shape, in world units. |
| Gap Length | The empty space between dashes, dots or arrow shapes, in world units. |
| Pattern Speed | The speed of the pattern and of the texture along the line, in world units per second. A negative value moves them toward the start of the line. |
| Texture | A texture that fills the line. Its color and its alpha multiply the color of the line. The left side of the texture is toward the start of the line. On a tube, the line shows only the middle row of the texture. |
| Texture Length | The length of the line that one copy of the texture covers, in world units. |
Caps
| Setting | Description |
|---|---|
| Start Cap | The shape of the start of the line. Flat ends the line at its first point. Square continues the line half its width. Round adds a half circle. Arrow adds an arrow head. Bar adds a short bar across the end of the line, like the ends of a dimension line in a drawing. |
| End Cap | The shape of the end of the line, with the same options. |
| Arrow Width | The width of the arrows and of the bars, relative to the width of the line. |
| Arrow Length | The length of the arrows, relative to the width of the line. |
With a width in world units, the tip of an arrow is at the end point of the line. With a width in screen pixels, the arrow starts at the end point.
Label
| Setting | Description |
|---|---|
| Label | A text shown along the line, for example a name or a measure. |
| Show Length | Adds the length of the line to the label, in meters. The number follows the language of the computer, for example 1.24 m. |
| Length Per Segment | Shows the length of each segment between two points instead of the length of the whole line. A closed line also shows its last segment. With Smooth or Snap to Ground, each label measures the part of the line between two of your points. |
| Label Size | The height of the label letters, in world units. |
| Label Color | The color of the label. Its alpha is the opacity. |
| Label Position | The place of the label along the line, from 0 at the start to 1 at the end. With Length Per Segment, it is the place along each segment. |
| Label Auto Align | Turns the label so it reads from left to right on the screen, or from bottom to top when the line is close to vertical. Turn it off to keep the direction that you choose, so the label never turns while the camera moves. |
| Label Direction | The direction of the text along the line when Label Auto Align is off: Start To End or End To Start. |
| Label Side | The side of the line where the label is, seen from the camera: Above or Below. |
The label turns around its line so it always faces the camera. With Label Auto Align on, it never reads upside down. A line that is visible through walls also shows its label through walls.
Animation
| Setting | Description |
|---|---|
| Draw Duration | The seconds that the line takes to draw itself from start to end. 0 shows the whole line at once. |
| Draw Easing | The speed curve of the draw animation: Linear, Ease In, Ease Out or Ease In Out. |
| Fade Out Duration | The seconds that the line takes to fade out at the end of its lifetime. It is used by the lines that have a lifetime, from a draw node or from Set Line Lifetime. |
| Visible Fade | The length at the two edges of the visible part of the line where the line fades, in world units, for example while it draws itself. 0 cuts the line sharply. It works with translucent and additive lines. |
The animations play in the game and in the preview of the window of a style asset. The level editor shows the whole line.
Style assets
To create a style asset, open the list of Style Asset of a line and select Lines Plus Style under Create New Asset. You can also create it in the Content Browser: click Add, then Data in Unreal Engine 5.8 or Miscellaneous in 5.6 and 5.7, and select Lines Plus Style. A change in a style asset updates every line that uses it.
Double-click a style asset to open its window. The window shows a preview of a line with the style. The line of the preview has straight sections, corners and two ends, and it crosses a small obstacle that shows the hidden part of the line and the ground snap. The draw animation and the fade out play in the preview in a loop.
The editor updates the lines when you change the asset in its window or in the Details panel. If you change the Style value of the asset from a Blueprint or from C++, call Update Lines on the asset after the change.
Suggest an improvement
Help us improve this documentation page.