Quick Start
beginner quick startEditor Doctor Pro · Quick Start
Quick Start
Get Editor Doctor Pro running in your project in under 5 minutes. The fastest path is the Welcome Wizard — it opens each main tool for you and walks through what to do in each window, step by step.
Step 1: Run the Welcome Wizard
The wizard is a short guided tour of the five tools you will use most: Doctor, Project Inventory, Safe Delete, Action History and Trash. Each step explains the window, then offers an Open … button that launches it so you can try it while you read.
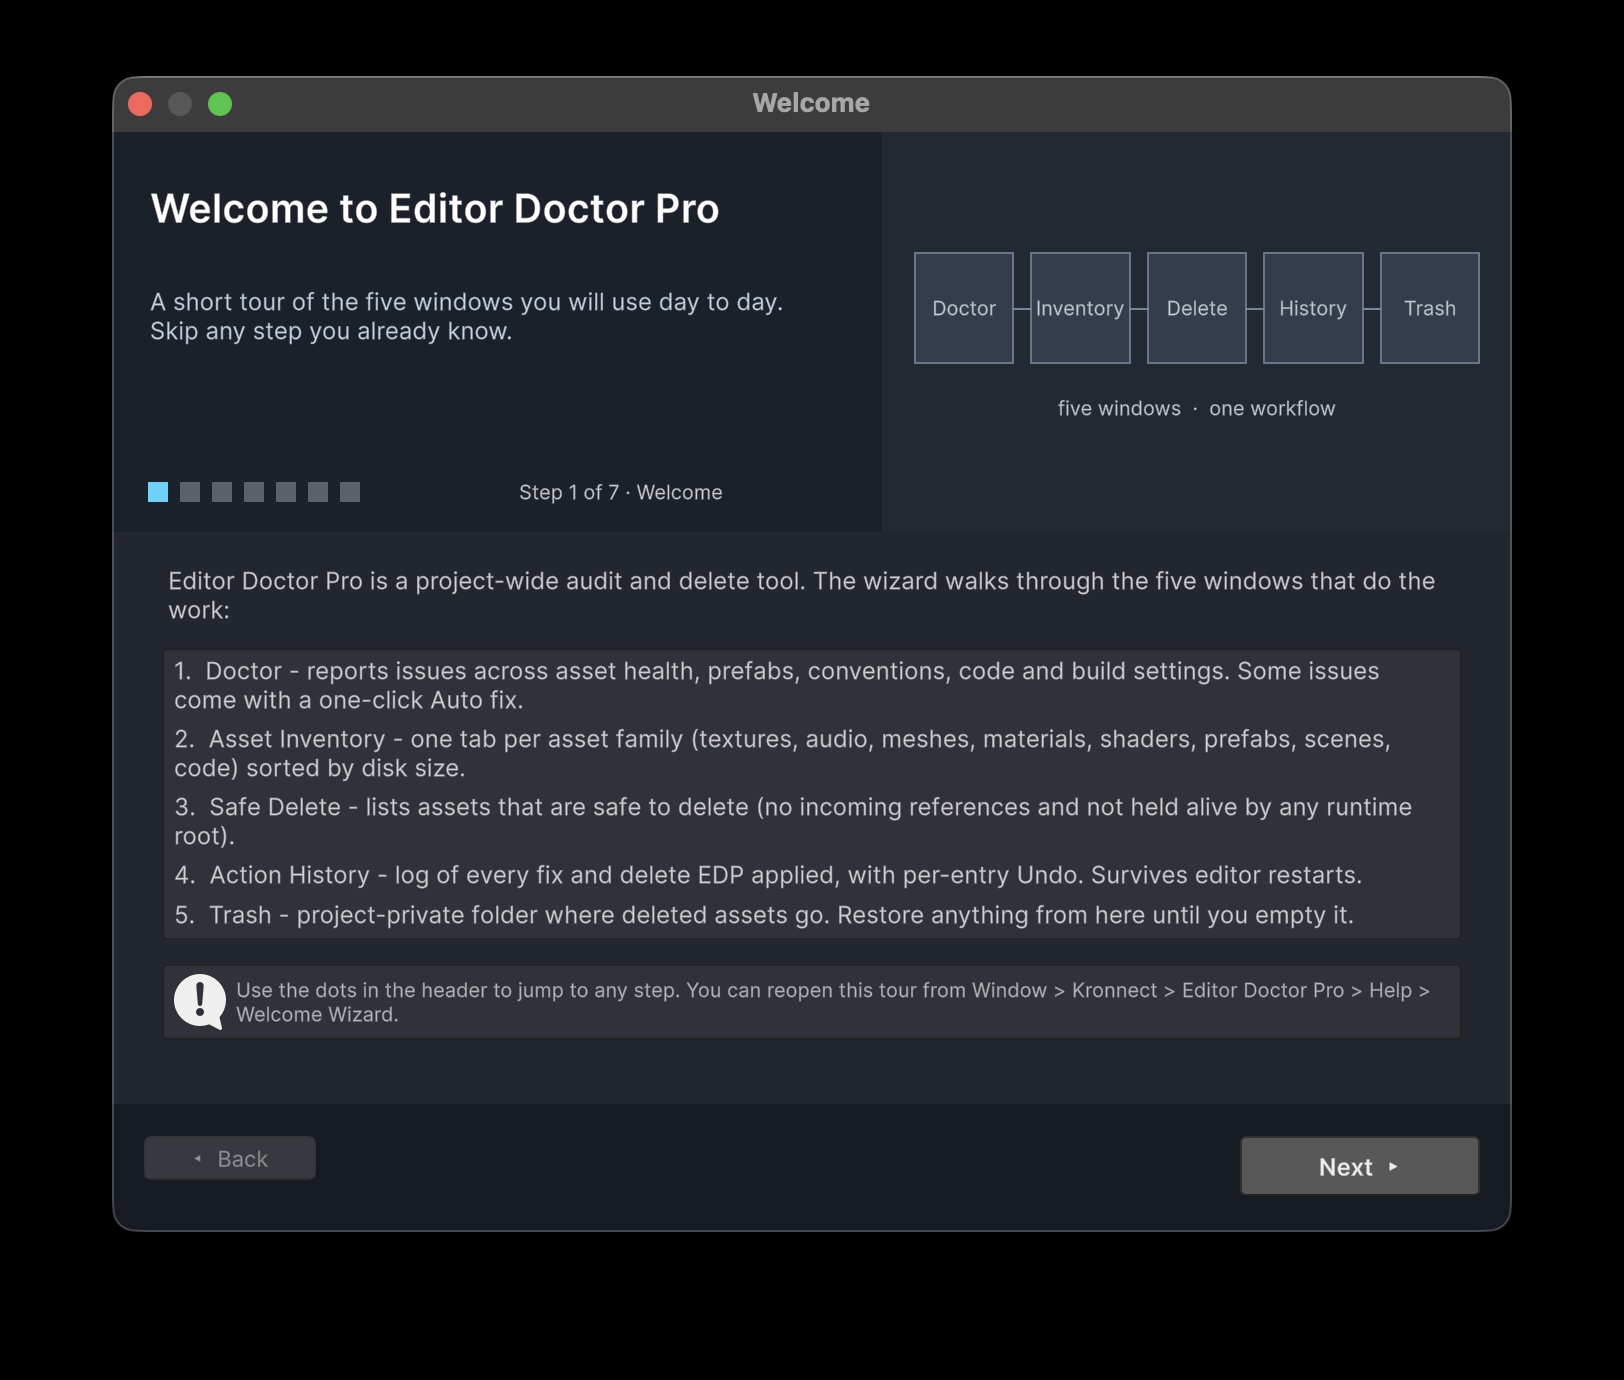
Use the dots in the wizard header to jump between steps, or Next / Back to move through the tour at your own pace. You can skip any step you already know.
| Wizard step | What you explore |
|---|---|
| Welcome | Overview of the five main windows and what each one is for. |
| Doctor | Open the Doctor, run a scan, read the Health Score, apply Auto fixes and browse category tabs. Covers Cecil install on first Code Audit use. |
| Project Inventory | Open the Treemap and per-type tabs, refresh, drill down by folder, scan references and bulk-optimize Textures / Audio / Meshes. |
| Safe Delete | Run the unreachable-asset scan, review candidates, and soft-delete to Trash with confirmation. |
| Action History | See how every fix, optimize and delete is journaled — and how to undo from one place. |
| Trash | Browse soft-deleted assets and restore them if you change your mind. |
| Done | Quick recap and links to Settings, exports and the rest of the docs. |
Step 2: Your first Doctor scan (inside the wizard)
When the wizard reaches the Doctor step, click Open Doctor and follow the numbered instructions in the wizard panel:
- Click Run Scan. Progress appears in the toolbar; large projects with Code Audit enabled can take 30 seconds or more.
- Review the Overview tab — findings by severity and the project Health Score.
- Switch to a category tab (Asset Health, Prefab Drift, etc.) and try an Auto fix on one row. Every change is recorded in Action History.
com.unity.nuget.mono-cecil (1.10.2). Unity recompiles once and the Code Audit tab populates on the next scan.
Step 3: Finish the tour
Continue through the remaining wizard steps — each one opens the matching window and tells you exactly which buttons to press. When you reach Done, click Finish. The wizard will not auto-open again on this machine unless you reopen it from the Help menu.
After the tour you know where the three main jobs live:
- Find problems — Doctor
- Know your project — Project Inventory
- Remove unused assets — Safe Delete
Without the wizard
If you skipped the tour, every window is still under Window > Kronnect > Editor Doctor Pro. Open Doctor and click Run Scan for a first health check, then explore Project Inventory and Safe Delete when you are ready. Or reopen Help > Welcome Wizard anytime.
Suggest an improvement
Help us improve this documentation page.