Project Inventory
beginner conceptsEditor Doctor Pro · Core Concepts
Project Inventory
The Project Inventory answers a simple question: what is in my project, what does each asset cost, and what uses it? Nine tabs - a Treemap visual overview plus eight per-type inventories (Materials, Shaders, Prefabs, Textures, Audio, Meshes, Scenes, Code) - let you browse, sort, search, scan for references, and bulk-optimize every asset under Assets/.
Open it from Window > Kronnect > Editor Doctor Pro > Project Inventory.
Toolbar
Top-of-window actions, in order:
- Refresh - rescans the active tab. Materials, Shaders, Prefabs, Textures, Audio, Meshes, Scenes and Code re-enumerate in the background; the Treemap rescans
Assets/(andLibrary/PackageCache/if not hidden). - Scan Refs / Re-Scan Refs - builds the project-wide reference map that powers the Refs and Referenced By columns (see below). The label switches to Re-Scan Refs once a map exists. If the inventory has changed since the last scan, a (stale) hint appears next to the freshness label so you know to re-run.
- Optimize (N) - on the Textures, Audio and Meshes tabs only. Opens a per-type bulk dialog with before / after settings for every checked row. Applies in one batch and records a single Action History entry.
- Export ▾ - CSV, plain text, or HTML for all visible rows or the current selection.
- Open Action History - shortcut to the Action History window, where every Optimize, Delete and Doctor fix is journaled and reversible.
Treemap (overview)
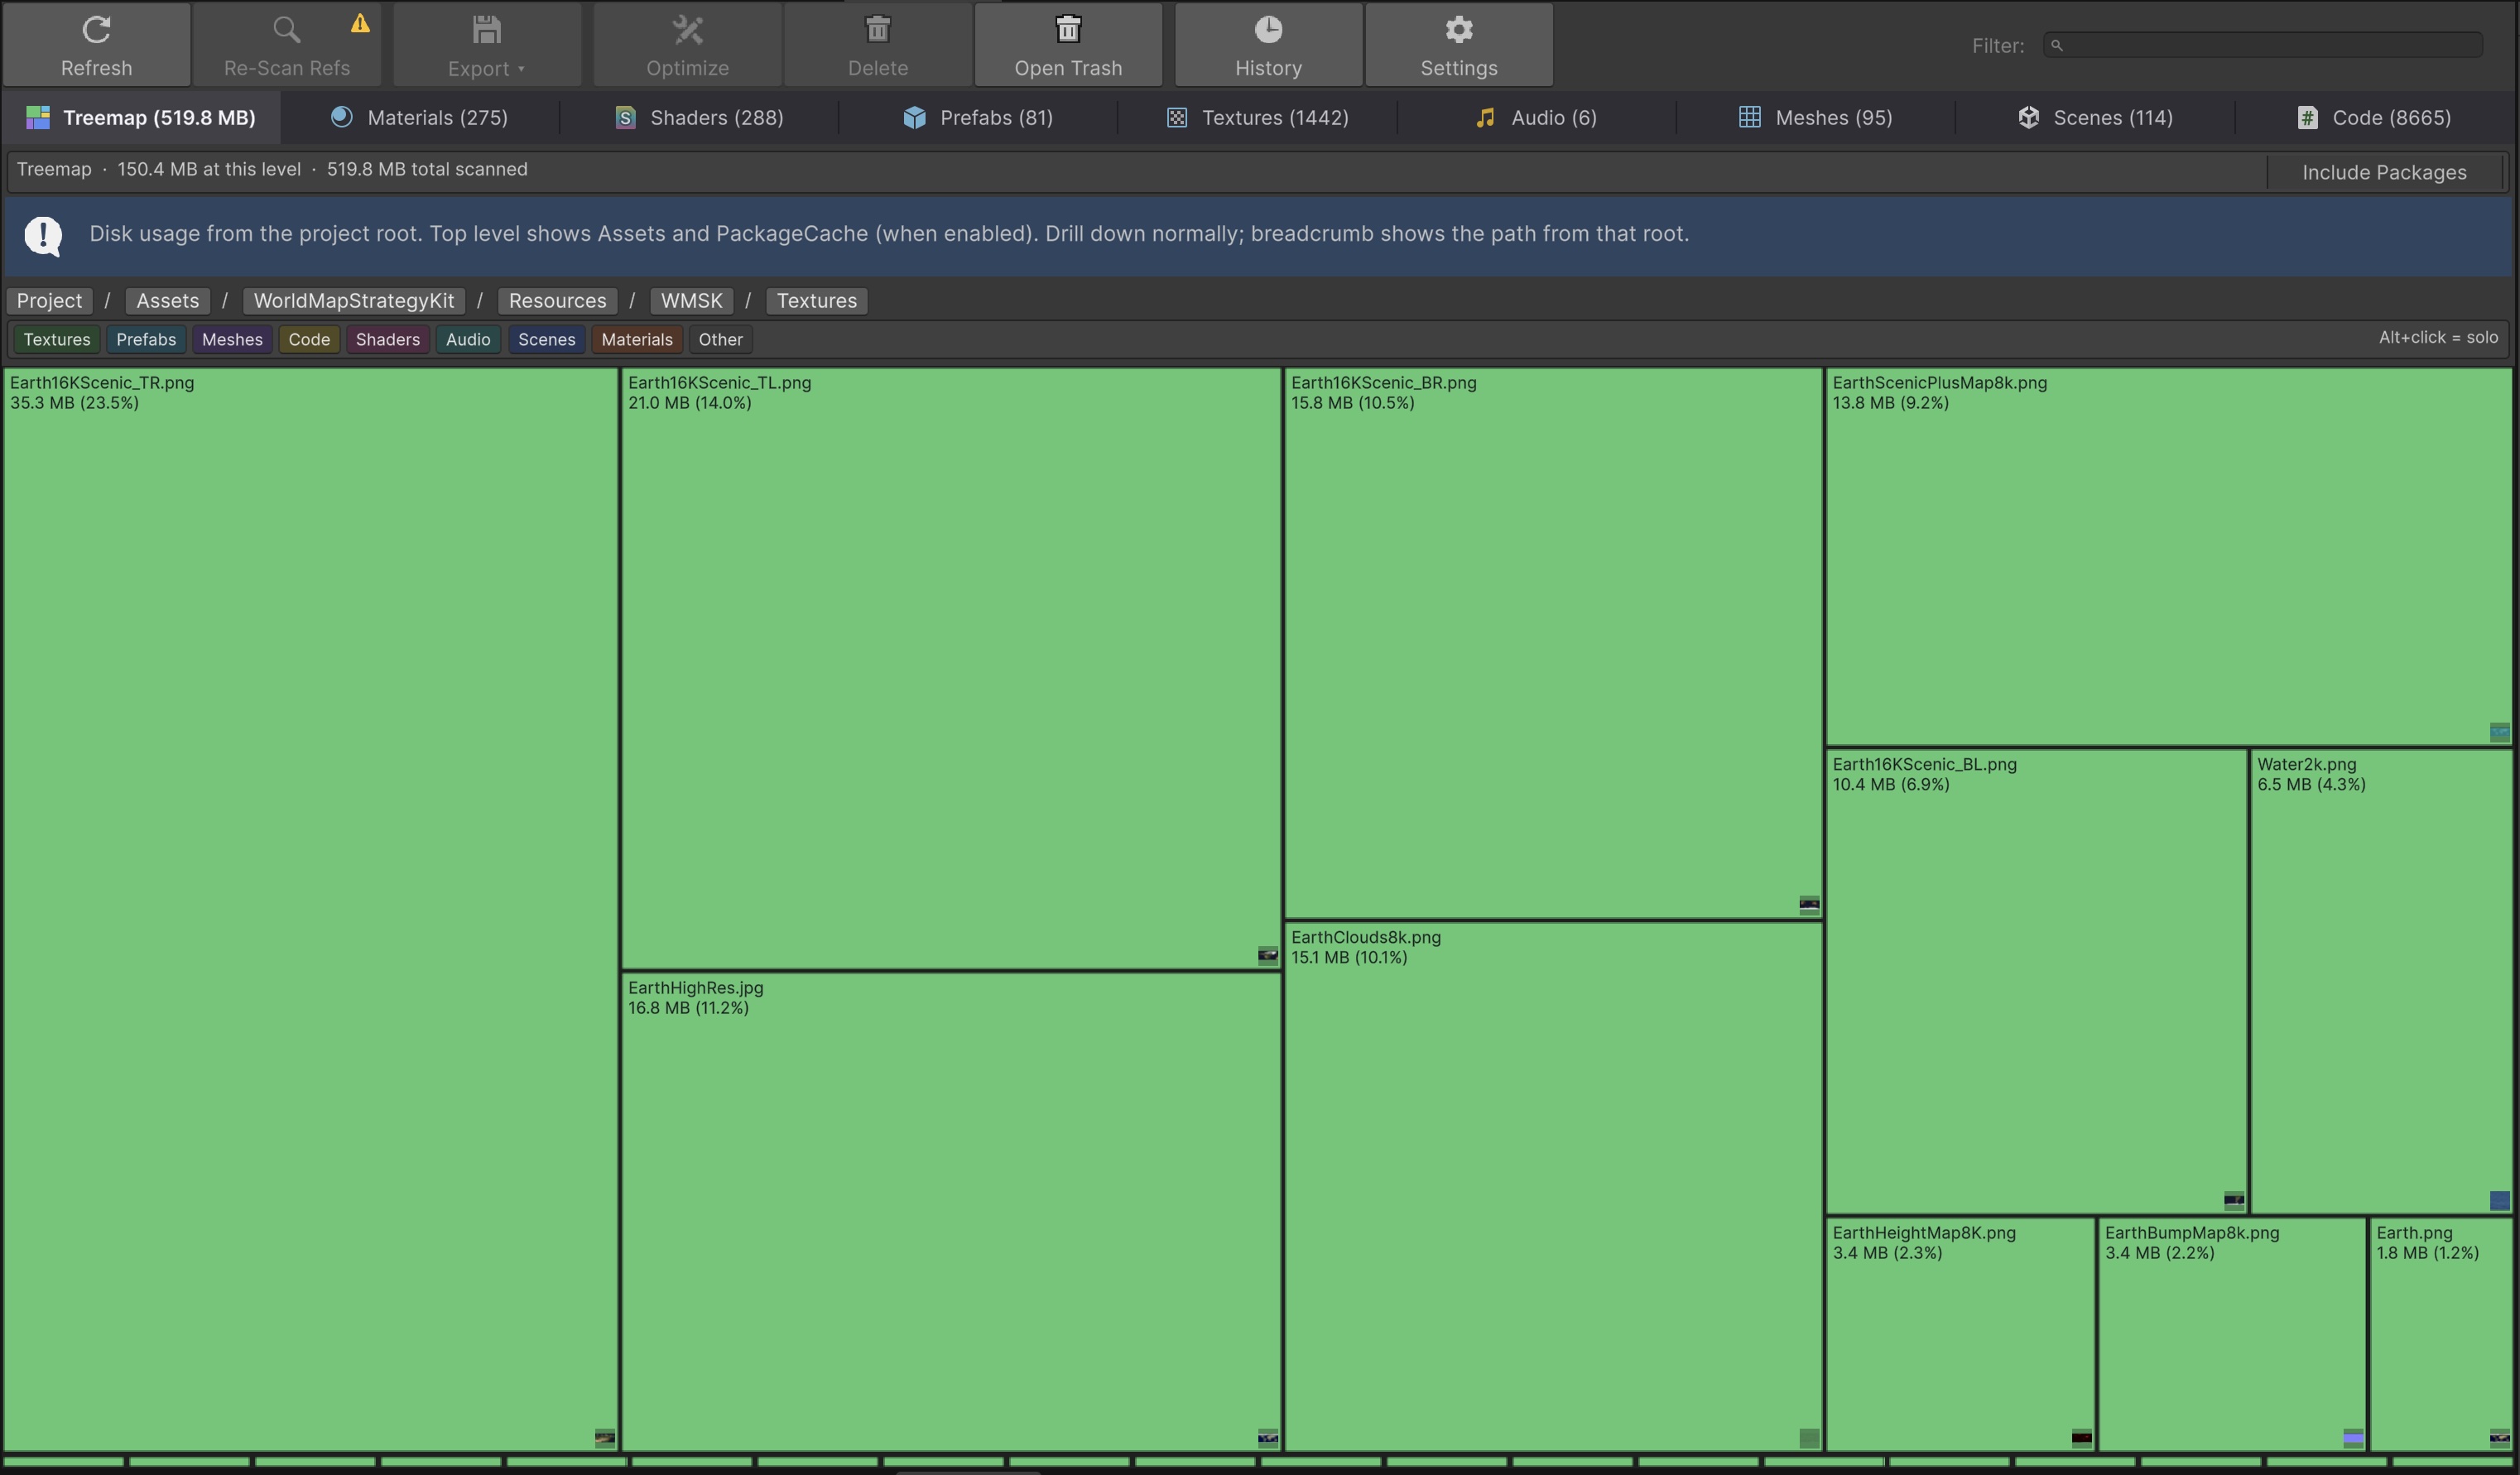
The Treemap tab is the headline view. It draws a squarified treemap of every file in the project, sized by on-disk bytes and coloured by asset type. One glance tells you where your disk budget goes and which folders weigh the most.
- Scope. By default the treemap scans
Assets/andLibrary/PackageCache/side-by-side. Toggle Hide Packages in the toolbar to drop the PackageCache half and focus on project content only. The toggle rescans automatically. - Drill-down. Click any tile to drill into the folder; the breadcrumb at the top of the panel walks you back up. The current drill path persists across editor restarts.
- Hover preview. Hover over any tile to see the asset's icon, path, size and (for textures / prefabs / meshes) a thumbnail. The preview floats next to the cursor with no click required.
- Legend filter. A colour legend on the side lists every type currently visible with the share of disk each takes. Click a legend entry to filter the treemap to that type; click again to clear.
- Locate / Open / Move to Trash. Right-click any tile for Locate in Project, Open, Move to Trash (routes through Safe Delete with Action History), and Copy path.
- References panel. When you select a tile, a side panel shows incoming and outgoing references for that asset (populated by the Refs map; runs Scan Refs first if missing).
Library/EDP/treemap-cache.json (gitignored). Subsequent opens read the cache instantly; click Refresh to rescan. The cache also survives editor restarts.
Refs and Referenced By (every tab)
Every per-type tab carries two virtual columns: Refs (count of assets this row depends on) and Referenced By (count of assets that depend on this row). They are populated by clicking Scan Refs in the toolbar. The scan walks:
- Scene references - every
.unityin the project, including disabled Build Settings entries. - Resources/ - every asset under any
Resources/folder. - Addressables - every group entry.
- Code literals -
Resources.Load("path")string literals in C# scripts.
Click any Refs or Referenced By cell to open a popover listing the actual asset paths and code sites. Run Re-Scan Refs after large content changes; the (stale) hint appears next to the toolbar when the map is older than the current inventory snapshot.
Per-type tabs
Columns shown are the in-box defaults. Column visibility, order and width are user-editable per tab via the right-click header menu; settings persist per machine.
| Tab | Columns (defaults) |
|---|---|
| Materials | Name, Refs, Referenced By, Shader, Passes, Keywords, Queue, Path. |
| Shaders | Name, Refs, Referenced By, Type, Pipeline, Subshaders, Passes, Queue, Path. |
| Prefabs | Name, Refs, Referenced By, Missing Scripts, Root Components, Children, Nested Prefab, Path. |
| Textures | Name, Refs, Referenced By, VRAM, Disk Bytes, Width, Height, Max Size, Type, File Format, Compression, sRGB, Mipmaps, R/W, Stream Mip, Alpha Transp, Crunch, Aniso, NPOT, Path. |
| Audio | Name, Refs, Referenced By, Disk Bytes, Length (s), Load Type, Compression, Channels, Sample Rate, Path. |
| Meshes | Name, Refs, Referenced By, Vertices, Triangles, Submeshes, Blend Shapes, Read/Write, Path. One row per Mesh sub-asset. |
| Scenes | Name, Refs, Referenced By, In Build, Build Index, Build Enabled, Disk Bytes, Path. |
| Code | Name, Refs, Referenced By, Asmdef, Asmdef Name, Lines, Bytes, Last Modified, Path. |
Group toggles
- Meshes > Group by file - an FBX with 35 sub-meshes shows 35 rows by default. Toggle on to collapse them into a single row per file with summed vertices, triangles and disk bytes. Useful for big LOD chains and skinned imports.
- Code > Group by asmdef - aggregates every script by its owning assembly. Surfaces total lines and bytes per asmdef. The (no asmdef) bucket is your Assembly-CSharp population - watch it shrink as you author asmdefs.
Filtering, sorting and search
Every column is sortable - click the header to toggle ascending / descending. The text search at the top of each tab matches on every visible column. A treemap drill-down also scopes the per-type tabs: drill into Assets/Game/Combat/ in the Treemap and the per-type tabs only show assets under that folder until you clear the scope from the breadcrumb.
Optimize (Textures / Audio / Meshes)
Checkbox-select one or more rows on the Textures, Audio or Meshes tab, then click Optimize (N). A type-specific dialog opens with the proposed before / after values:
- Textures - max size, compression, sRGB, mipmaps, R/W, streaming.
- Audio - load type, compression, quality, Force To Mono.
- Meshes - mesh compression, R/W, weld vertices, animation compression.
Apply runs as a single batch, refreshes the importer for each path, and records one Action History entry that can revert the whole batch.
Locate, Open, row context menu
Click any row to ping the asset in the Project window. Double-click to open it in its native editor - the Inspector for textures and audio, the Prefab editor for prefabs, the IDE for scripts. Right-click for Locate, Open, Move to Trash (single or selected), Copy path, and column visibility controls.
VRAM heat tint (Textures)
The Textures tab paints high-VRAM rows red so the costliest textures jump out at a glance. Two project-shared thresholds drive the tint:
- Floor (MB) - textures below this VRAM size are never tinted, even if they sit in the top percentile.
- Percentile - textures at or above this percentile of the project's VRAM distribution get tinted. Default 95 (top 5%).
Tune both under Settings > Inventory; values commit to ProjectSettings/EditorDoctorPro/ so the team's heat thresholds are shared via git.
Export to CSV
Click Export CSV to save the current tab as a flat CSV (UTF-8, RFC 4180). The file mirrors the visible columns in the order shown. Useful for spreadsheet pivots, ticket attachments, and programmatic post-processing. The Treemap tab exports the flat list of every visible node (file path, size in bytes, depth, type).
Suggest an improvement
Help us improve this documentation page.