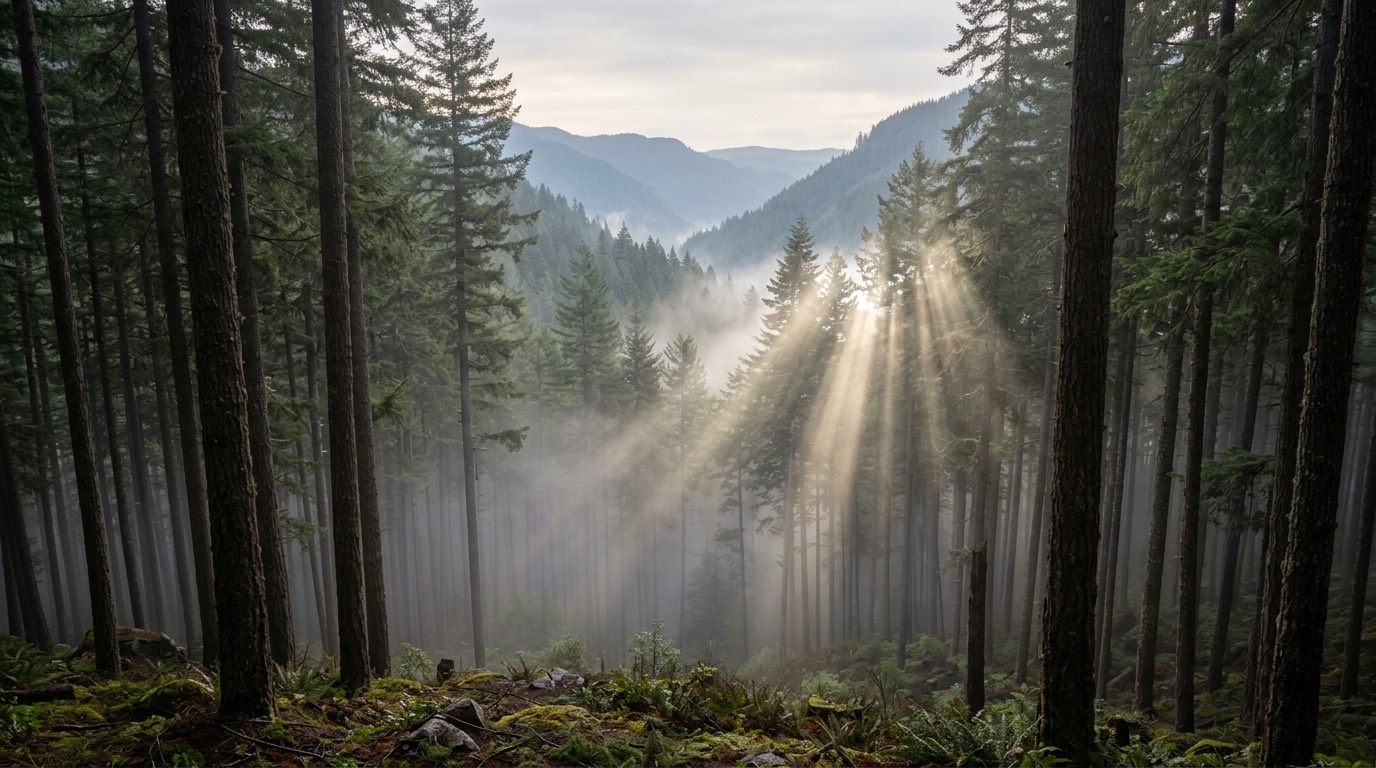
Volumetric lighting is what makes a light visible in the air, like the cone under a street lamp in fog or a flashlight beam in a dusty room. URP lights only shade surfaces. Nothing is drawn for the air between the light and the surface, so the beam needs its own effect. This guide covers the basics briefly and then spends most of its time on the parts that cause trouble in real projects: shadows inside the beam, colored light through glass, shadow caching and keeping many lights fast. Setting names are the exact inspector labels in Volumetric Lights 2 for Unity, so you can follow along in the editor.
For scene-wide fog, height fog and how fog and light shafts work together, see our complete guide to fog in Unity URP. This article covers the per-light side in depth.
Scattering and ray marching
Dust, haze, smoke and moisture scatter a small part of the light that passes through them toward the camera, and that scattered light is what makes a beam visible. Where something blocks the light, the beam has a gap. Those alternating bright and dark streaks are the light shafts.
The usual real-time technique is ray marching. For each pixel, the shader walks along the view ray in small steps, evaluates the light and the amount of medium at each step, and adds up the result. Cost grows with the number of pixels covered, the number of steps per ray and the number of lights. With the per-light approach, each light marches only inside its own volume (a cone for a spot light, a sphere for a point light and a box for an area light) instead of across the whole screen.
Setting up volumetric lights in URP
The only pipeline requirement is Depth Texture, enabled on your URP Asset and on every URP Asset used by your quality levels. The effect reads scene depth to find where a beam hits geometry. You can then add a volumetric light in two ways:
- New light: choose GameObject > Light > Volumetric Spot Light, Volumetric Point Light, Volumetric Rect Area Light or Volumetric Disc Area Light.
- Existing light: add the Volumetric Light component to any Spot, Point or Area light. The volume follows the light's type, range, angle, color and intensity automatically.
Settings can be stored in a Profile (Create > Volumetric Light Profile). With Sync With Profile enabled, every light that uses the profile follows it, which is how you keep fifty street lamps consistent. Light Mode selects Volumetric, the full ray-marched effect, or Simple, an analytic approximation that evaluates each pixel once at the middle of the beam, with no ray marching, noise or shadows. Use Simple for background lights and on low-end mobile. The quick start and the parameters reference cover the basic settings in detail, so the rest of this guide is about how the effect works and the advanced features.
How the ray marching works
Each volumetric light renders its own volume mesh. For each pixel, the shader first intersects the view ray with the cone, sphere or box analytically. Marching starts where the ray enters the volume and stops where it exits or where it reaches the scene depth, whichever comes first, so no steps are spent on empty space or behind walls. The loop also exits early once the accumulated beam is nearly opaque.
The step length is not fixed. Each ray uses Min Step Size plus the logarithm of the length of its path inside the volume divided by Raymarch Quality. Long rays through big volumes take longer steps, so their cost stays under control, and Max Steps caps the number of steps per ray. Few steps cause banding, and two settings deal with it. Jittering offsets the start of each ray per pixel, which turns banding into fine grain. Dithering then removes the banding that is left. Use Blue Noise replaces the default hash with a blue noise texture, and its Animated option changes the pattern every frame. Blue noise costs one extra texture fetch and is mostly worth it when shadow occlusion is on.
Raymarch Preset sets Raymarch Quality, Min Step Size and Jittering together:
| Raymarch Preset | Raymarch Quality | Min Step Size | Jittering | Good for |
|---|---|---|---|---|
| Default | 8 | 0.1 | 0.5 | Hero lights with detailed shadows |
| Faster | 4 | 0.2 | 1 | Most gameplay lights |
| Even Faster | 2 | 1 | 4 | Many lights, combined with the render feature blur |
| Light Speed | 1 | 8 | 4 | Large soft volumes, background lights |
Changing any of those fields by hand switches the preset to User Defined. With Even Faster and Light Speed, the inspector suggests adding the Volumetric Lights Render Feature, because the strong jitter of those presets is meant to be smoothed by its blur (see Blur and resolution below).
Shadow occlusion
Without occlusion, a beam goes straight through walls, pillars and props and looks like a glowing cone mesh. Enable Shadows (under Shadow Occlusion) lets geometry block the beam, which is what produces the gaps between shafts. Each light gets a child camera named OcclusionCam that captures a depth map from the light's point of view. It uses a lightweight depth-only renderer, which the asset adds to your URP Asset's renderer list the first time you enable the option. Your main camera keeps its own renderer and is not affected.
The occlusion map belongs to the volumetric light. It does not depend on URP's shadow settings or on the light's own Shadow Type, so a light can have shadows in its beam even when it casts no regular shadows. The capture projection follows the light type: perspective with the spot angle for spot lights, orthographic for rect and disc area lights, and a half sphere or cubemap for point lights. The main settings are:
- Intensity and Color: the shadowed part of the beam blends toward the shadow color instead of going black, which helps with colored haze or stylized looks.
- Resolution: 32 to 4096, 256 by default. Beams are soft, so 256 is often enough. Raise it for fine patterns like window bars, grilles or foliage.
- Culling Mask: the layers that occlude the beam. The TransparentFX layer is excluded automatically unless Include Transparent is on. Keep the mask tight, since every layer in it is rendered during the capture.
- Include Transparent: transparent geometry and 2D sprites block the light like opaque objects, as long as their material writes depth with a DepthOnly pass.
- Near Clip Distance: the near plane of the capture. Use it when the light sits inside a lamp model.
The shader computes the shadow coordinates once where the ray enters the volume and once where it leaves, then interpolates between them along the ray, so each step only costs a texture fetch. Raymarch Quality also controls how finely the shadows are sampled, which is why thin occluders look sharper on the higher presets.
Point lights have their own Bake Mode. Half Sphere captures a 160-degree view in one render, oriented To Camera (toward the player) or in a Fixed Direction set in Direction, for example straight down for a ceiling lamp. Cubemap One Face Per Frame and Cubemap All 6 Faces Per Frame cover every direction. Both are slower than Half Sphere, and All 6 Faces Per Frame is the slowest.
Shadow caching
Each occlusion map is a small extra camera render per light, and rendering it every frame for every light adds up. Most volumetric lights in a level never move, and neither do their occluders, so the asset treats the occlusion map as a cache. The setting that controls it is Bake Interval:
- On Start renders the capture for a couple of frames, turns the capture camera off and keeps the result. If the light moves or rotates, it re-captures automatically. A light carried by a character or a lamp swinging on a chain stays correct while it moves, and the capture cost drops back to zero when it stops.
- Every Frame keeps capturing. Use it for occluders that move on their own, such as a rotating fan, doors or characters walking through the beam.
- Ignore Rotation (On Start only, play mode): rotating the light no longer triggers a re-capture. The cached map is reprojected with the light, so anything that moves with the light, like a lamp cage or a gobo grille, keeps its shadow pattern at no extra cost.
- Update Shadows in the inspector, or
ScheduleShadowCapture()from code, refreshes a cached map when your game knows something changed.
Some caching needs no setting at all. A point light in Half Sphere mode oriented To Camera only re-captures when the direction to the camera changes by more than 45 degrees. Cubemap One Face Per Frame with Every Frame spreads the six faces over six frames. Capture is suspended while the light volume is not visible to any camera. The translucency map from the next section is captured in the same pass, so it is cached together with the shadows.
For far lights, the shadow Auto Toggle option disables occlusion beyond its Distance from the camera. The distance is measured to the camera in the Target Camera field, or to the main camera if the field is empty, and it is checked every Check Time Interval (one second by default) instead of every frame.
| Scenario | Setting | Runtime cost |
|---|---|---|
| Static light, static occluders (windows, street lamps) | Bake Interval: On Start | One capture, then nothing |
| Light that moves now and then (flashlight, swinging lamp) | On Start | Captures only while the light moves |
| Occluders attached to a rotating light (cage, grille) | On Start + Ignore Rotation | No captures while rotating |
| Occluders that change on events (a door opens) | On Start + ScheduleShadowCapture() | One capture per event |
| Occluders that move constantly (fan, characters) | Every Frame | One capture per frame while visible |
The event-driven case from the table looks like this in code:
using VolumetricLights;

VolumetricLight vl = GetComponent<VolumetricLight>();
vl.enableShadows = true;
vl.shadowBakeInterval = ShadowBakeInterval.OnStart;
vl.shadowResolution = ShadowResolution._512;
vl.UpdateMaterialProperties();

// Later, when the door in front of the window opens
vl.ScheduleShadowCapture();
Colored light through glass (translucency)
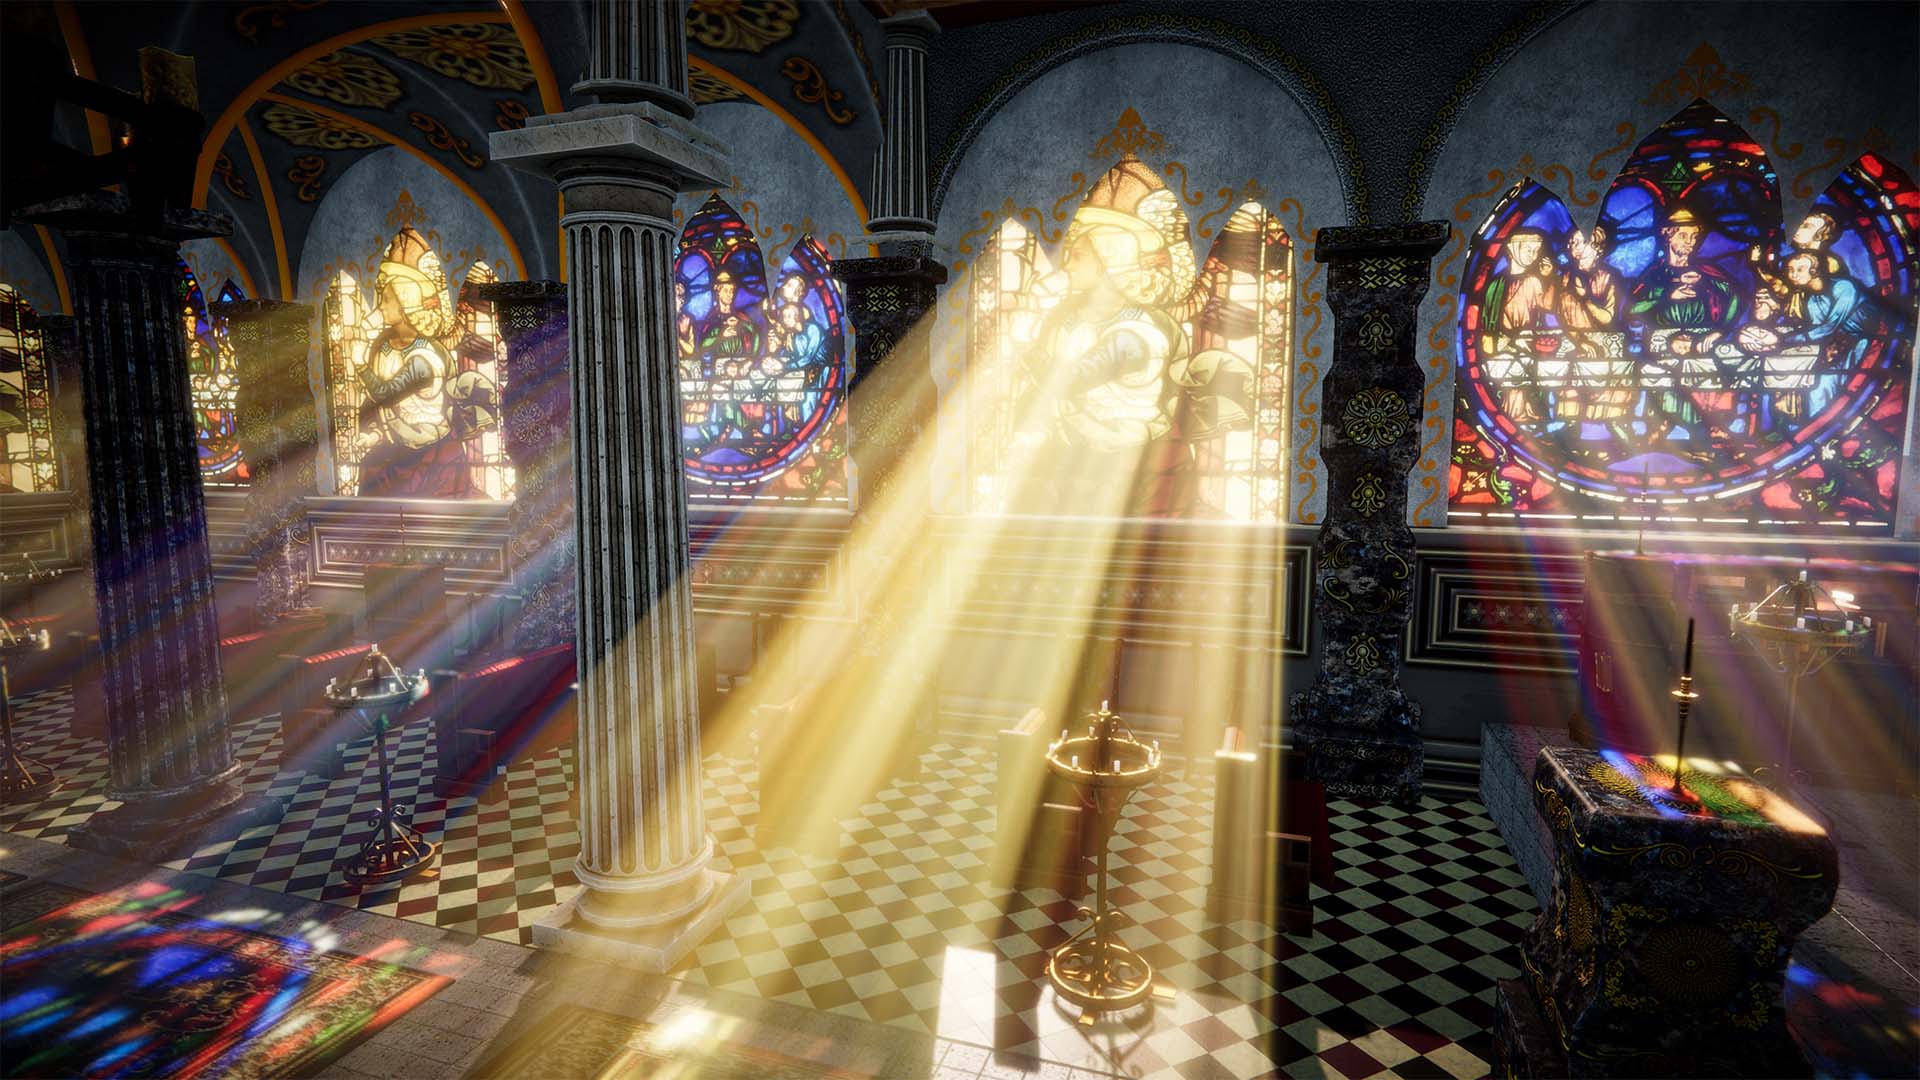
To tint the beam with colored glass, enable Translucency under Shadow Occlusion and add the Volumetric Lights Translucency component to the transparent renderers that should color the light, such as stained glass, colored plastic or curtains. During the capture, those renderers draw their color into an HDR translucency map with the same Resolution as the shadow map. The map also stores depth, so the beam only takes the color behind the glass and the part in front of it stays untinted.
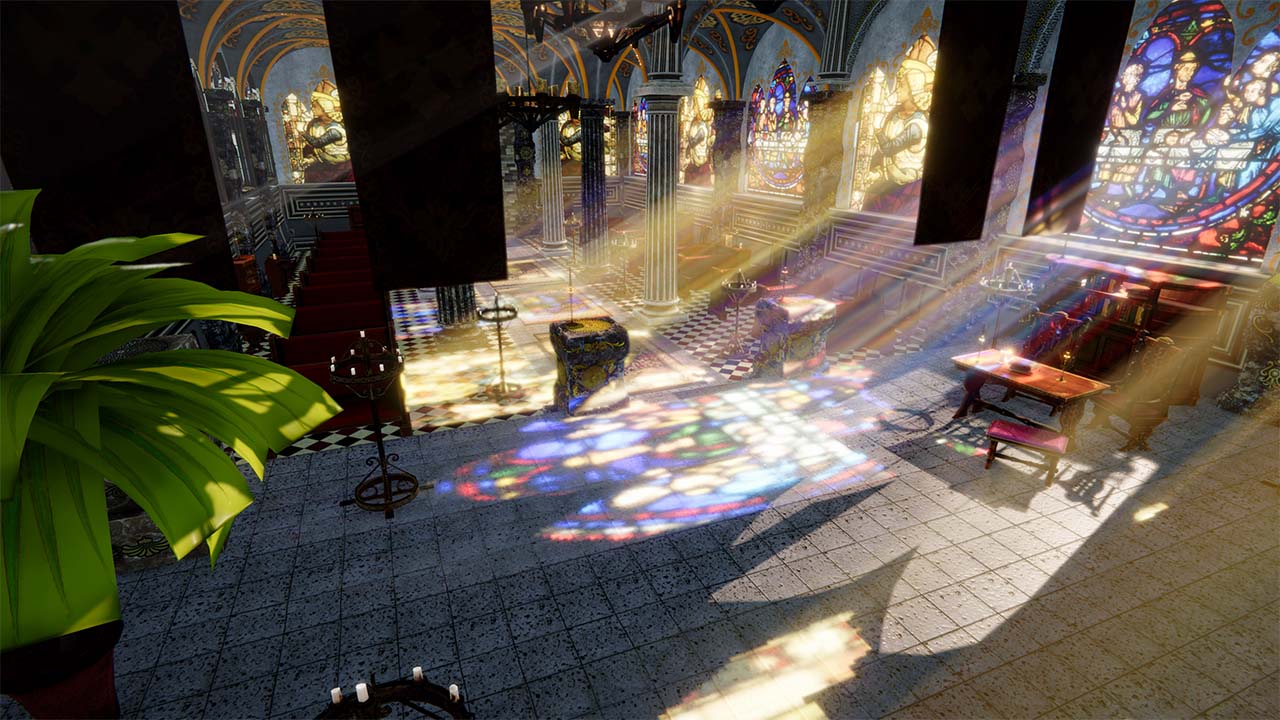
On the light, Intensity scales the effect and Blending sets the amount of colorization. On each object, Intensity Multiplier adjusts that object alone. Base Texture Property Name and Base Color Property Name tell the asset which material properties hold the texture and tint (_BaseMap and _BaseColor by default, with _MainTex and _Color as fallbacks). Preserve Original Shader renders the object with its own shader instead of the faster internal one. Use it for custom or animated glass shaders. Only objects whose bounds touch a light's volume are drawn into that light's map, so in a cathedral full of windows, a light does not pay for the windows outside its volume.
Translucency works with spot, rect area and disc area lights, and the dust particles in the beam get the same tint. On DirectX 12 with the Forward+ or Deferred+ rendering path, the inspector warns that translucent shadow maps are not available, so use DirectX 11 or another rendering path there. Setup steps are in the translucency docs.
Lighting the surfaces the beam hits
A shaft of light that reaches the floor should leave a bright patch there. Cast Direct Light makes the volume also light the opaque surfaces it reaches, using the same occlusion map, cookie and translucency color as the beam. In a cathedral scene you get colored stained glass patches on the floor, with soft shadows that line up exactly with the gaps in the shafts.
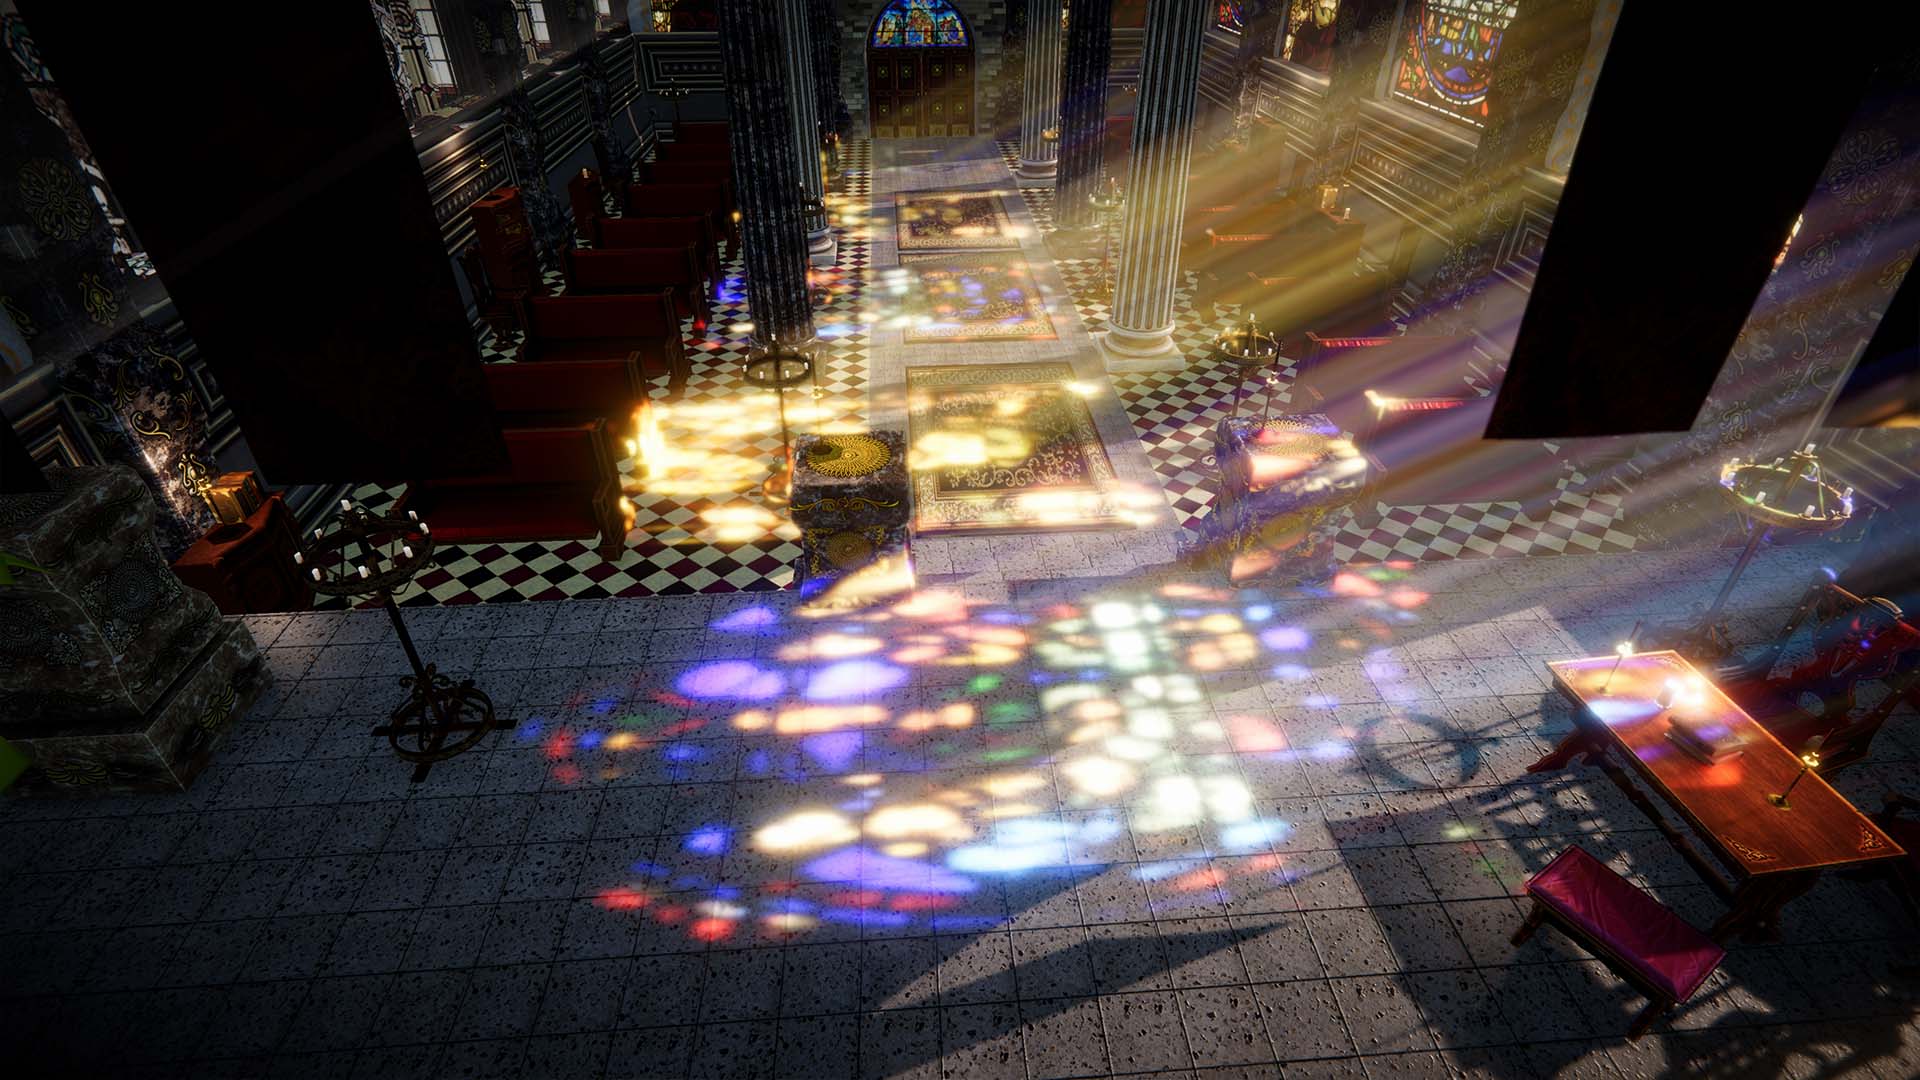
- Intensity: multiplier for the light on surfaces.
- Softness Samples (1 to 32) and Softness Radius (0 to 8): the edges of the projected shadows are filtered with a Poisson disc pattern. More samples and a wider radius give softer penumbras.
- Blend Mode: Additive adds light shaded with the scene normals. Blend reads albedo and specular from the GBuffer, so each surface is lit with its own material color. Blend is slower and needs the Deferred rendering path.
Cast Direct Light is designed for the Deferred rendering path. With Render Graph it also needs the Volumetric Lights Render Feature on your URP Renderer, and the inspector shows a warning when it is missing. Combined with translucency, the colored light on the floor matches the beam frame by frame. See the Direct Light Cast docs.
Because the volume lights the surfaces itself, the URP light does not need to be on at all. Disable the Light component and enable Always On on the volumetric light: the beam and the lit patch on the floor still render with the light's color and intensity, and URP no longer renders that light or its shadows.
Shaping the volume
Each light type gets a matching volume and has its own shaping controls.
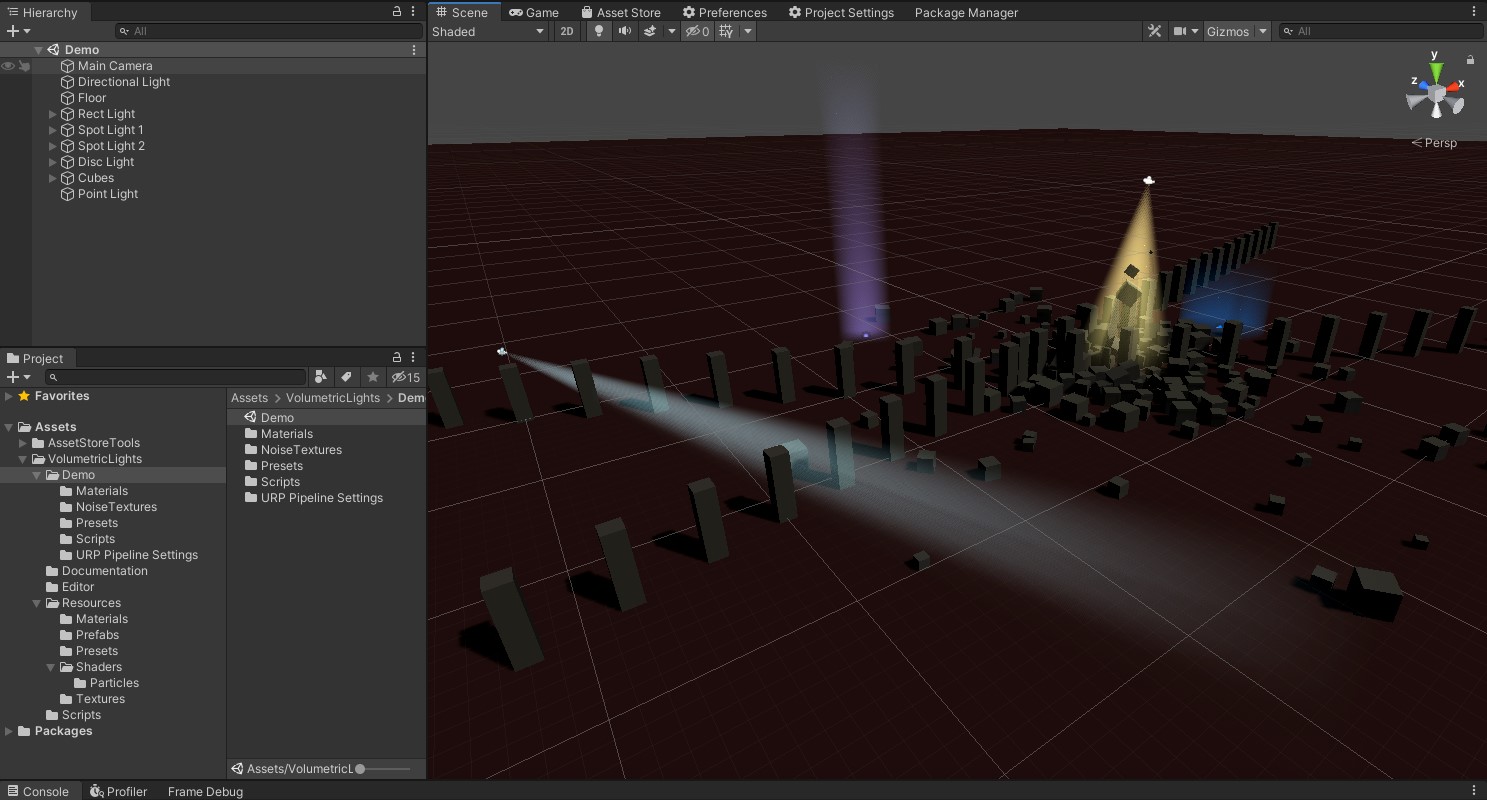
- Spot lights: Tip Radius starts the cone with a radius instead of a point. Use it for headlights and other lens-sized sources. Near Clip Distance starts the beam some distance away from the source. Cookie Texture (RGB) projects a colored or grayscale pattern through the beam, with Scale, Offset and Scroll Speed. A scrolling cookie gives you moving leaf shadows or a projector without writing a script. Cookies also work with shadows off.
- Area lights: rect and disc volumes extrude along the light's forward axis. Frustum Angle (0 to 80) widens them with distance, which is the right shape for sunlight coming in through a window or a skylight.
- Use Custom Size: sets Width and Height (rect), Radius (disc) and Range for the volume independently of the Light component. You can shorten a beam, and its ray marching distance, without changing the lighting.
- Use Custom Bounds: clips the volume to a box you edit with a scene handle, in world or Local Space. Use it to keep a shaft inside a room when the light's range would let it leak through a wall.
Sun shafts from the directional light are the job of Volumetric Fog & Mist 2 for Unity. Enable Receive Shadows under Directional Shadows in its profile and the sun's shadows cut the fog into shafts across the whole scene. You can add the sun's cookie too. Volumetric Lights 2 handles every other light: lamps, flashlights, spotlights and window light from an area light. The fog guide shows how to use the two together.
Noise, wind and dust
These settings control what the medium inside the beam looks like:
- Use Noise samples a 3D Noise Texture inside the volume, with Strength, Scale and Final Multiplier. Wind Direction scrolls it over time, so the haze drifts through the beam.
- Diffusion Intensity brightens the beam when the camera looks toward the light, like the glow you see when you face a lamp in fog.
- Penumbra softens the edges of the cone or disc.
- Attenuation Mode: Simple uses Range Fall Off, while Quadratic exposes the 1 / (a + b·x + c·x²) curve through Constant Coef, Linear Coef and Quadratic Coef.
- Density, Medium Albedo and Brightness set how thick the medium is and what color it has. Brightness Mode chooses whether brightness multiplies the light intensity (Relative) or is independent of it (Absolute). Absolute is handy when a script animates the light but the beam should stay steady.
Enable Dust Particles adds floating specks that spawn in the shape of the volume (cone, sphere or box) and drift with the Wind Direction, scaled by Wind Speed. They are lit with the same attenuation, cookie, shadows and translucency as the beam, so specks in a shadow stay dark and specks behind stained glass take its color. Brightness, Min Size and Max Size control their look, Distance Attenuation fades them out with distance from the camera, Auto Toggle with its Distance turns the particle renderer off for far lights, and Prewarm fills the volume as soon as the light is enabled. Turn Prewarm off when many lights switch on at the same time.
Transparent objects and sorting
Each light has its own Blend Mode: Additive (default), Blend, Pre Multiply or Substractive. Substractive removes light, which is useful for darkening effects. Render Queue (3101 by default), Sorting Layer ID and Sorting Order set the order against other transparent renderers, including Sprite Renderers in 2D and 2.5D scenes.
Transparent objects do not write depth, so a beam can draw over glass, water or particles in front of it. There are two ways to fix it. The quick one is a Render Queue lower than your transparent objects (they start at 3000). The accurate one is the Volumetric Lights Depth Pre Pass Feature on your URP Renderer. Its Transparent Layer Mask (with Use Optimized Shader and Cull Mode) and Alpha Cutout Layer Mask (with Alpha Cut Off and Cull Mode Fallback) add those objects to a custom depth that is merged with the scene depth, so beams stop at glass and leaves. Disable the optimized shader for objects whose own shader moves vertices, for example to animate wind. Ignore Reflection Probes and Ignore Overlay Camera keep the pre-pass off cameras that do not need it. It uses the same keyword and depth texture as Volumetric Fog & Mist 2 for Unity, so if you use both assets, one pre-pass serves both. Details are in the transparency docs.
Blur and resolution
Light shafts are low-frequency, so they are good candidates for rendering at reduced resolution. With the Volumetric Lights Render Feature on your URP Renderer, all volumetric lights render into an off-screen light buffer, which is blurred and then composited over the camera image:
- Downscaling (1 to 4) reduces the resolution of the light buffer. It is the main performance setting when many lights cover the screen.
- Blur Passes (0 to 4), Blur Downscaling and Blur Spread smooth the result and hide the grain of the fast presets. HDR keeps bright values intact in the blur buffers.
- Preserve Edges switches to a depth-aware bilateral blur with an Edge Threshold. With Downscaling above 1, it also uses a downsampled depth buffer for edge-aware upscaling, so shafts do not bleed over foreground silhouettes.
- Blend Mode, Brightness and Dither Strength control the final composition. Render Pass Event sets when it runs (Before Rendering Transparents by default), and Ignore Overlay Camera skips overlay cameras.
With Downscaling at 1 and Blur Passes at 0 the feature does nothing, and the inspector tells you so. When it is active, the lights render inside the feature's own pass, so their order is set by Render Pass Event and not by each light's Render Queue. On desktop it is almost always worth enabling. On high-density mobile screens banding is much less visible, and you can often skip it. See Global Composition Blur.
Performance checklist
- Start with a fast preset. Use Faster or Even Faster as the Raymarch Preset, let the render feature (Downscaling 2, Preserve Edges) smooth the grain, and raise quality only on the lights where you can see the difference.
- Cache shadows. Bake Interval On Start for anything static, Every Frame only where occluders really move, Resolution 256 as a starting point and a tight Culling Mask.
- Fade far lights. Auto Toggle on the light dims the beam from Distance Start Dimming and switches it off at Distance Deactivation. The shadow and dust Auto Toggle options do the same for their parts.
- March less. Use Custom Size or Use Custom Bounds to keep volumes no bigger than the shot needs, and lower Max Steps to cap long rays.
- Fake the background. Use Simple light mode for distant or decorative lights. For lamps that only need the visible beam and not the surface lighting, use Always On with the Light component disabled.
- Use blue noise selectively. Turn on Use Blue Noise only where it visibly helps, usually on shadowed hero lights.
- Check the basics. Enable Depth Texture on every URP Asset in Graphics and Quality settings, and strip the shader keywords you do not use for faster builds, as described in Build Optimizations.
More platform-specific advice is in the performance tips.
Render Graph, Forward+, VR and orthographic cameras
In Unity 6 the render features record native Render Graph passes, and a Compatibility Mode path is kept for Unity versions that still offer it. Your main camera can use Forward, Forward+, Deferred or Deferred+. The shaders are stereo-aware for VR, and the shadow capture cameras are excluded from XR rendering, so occlusion maps are rendered once and not once per eye. Orthographic cameras are supported by enabling one define in Options.hlsl (see Orthographic Camera). From scripts, UpdateMaterialProperties() applies runtime changes, ScheduleShadowCapture() refreshes cached shadows, SetBounds() moves custom bounds, and the OnPropertiesChanged event lets your code react to changes. The scripting reference has the full API.
Shipped games
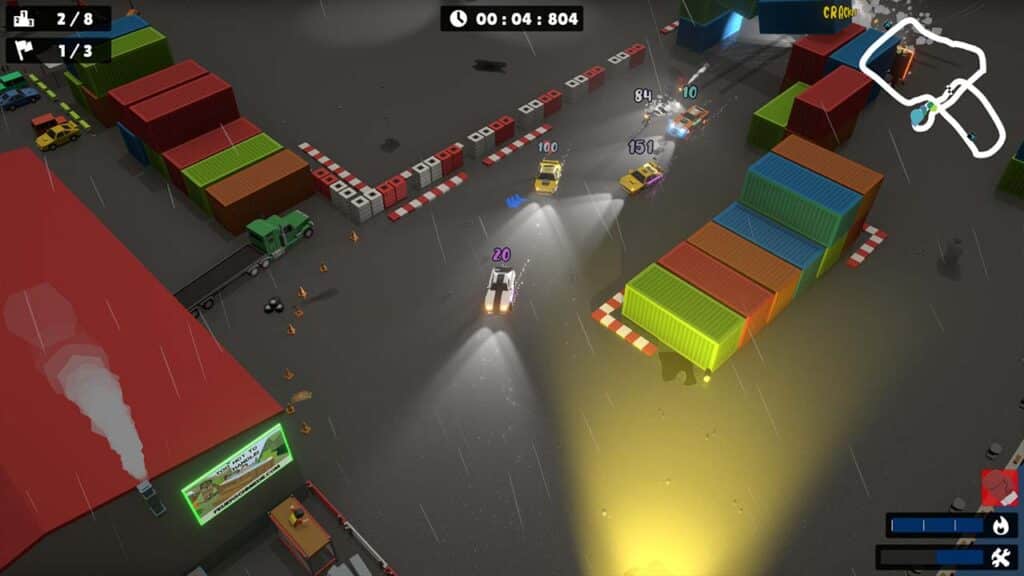
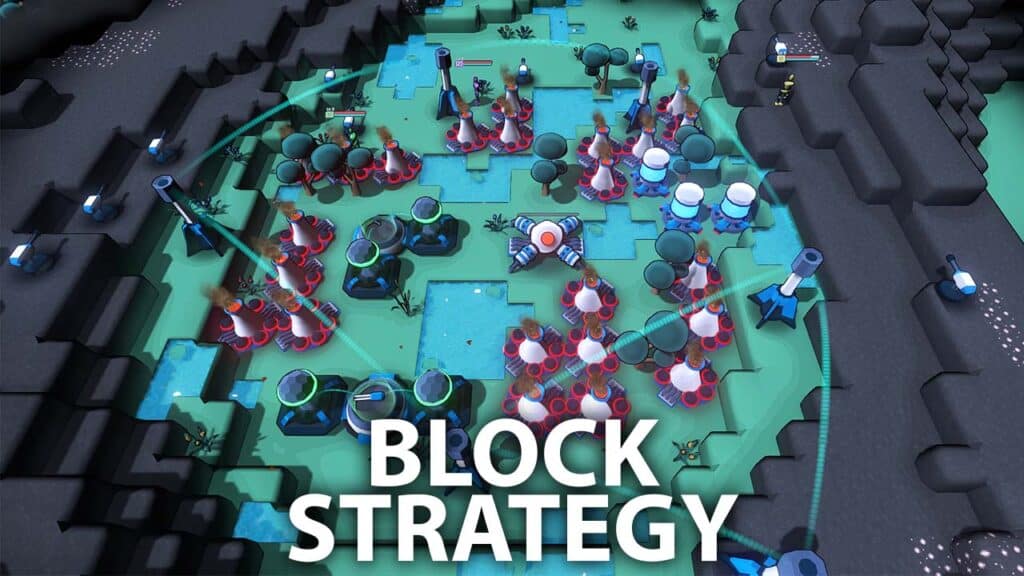
Two titles from our community showcase use these tools. Smells Like Burnt Rubber uses Volumetric Lights 2 for its night races, and Block Strategy combines it with Volumetric Fog & Mist 2. If you are choosing between fog, volumetric fog and per-light shafts for your project, the docs have a side-by-side comparison, and the fog guide shows how to combine them.
Ready to add real light shafts to your URP project?
Get Volumetric Lights 2 for Unity on the Asset Store, or grab it together with Volumetric Fog & Mist 2 and Dynamic Fog & Mist 2 in the Fog & Lighting Bundle.
Get Volumetric Lights 2 on the Asset Store Product details
Also on the Kronnect store, with your rewards and private prices.