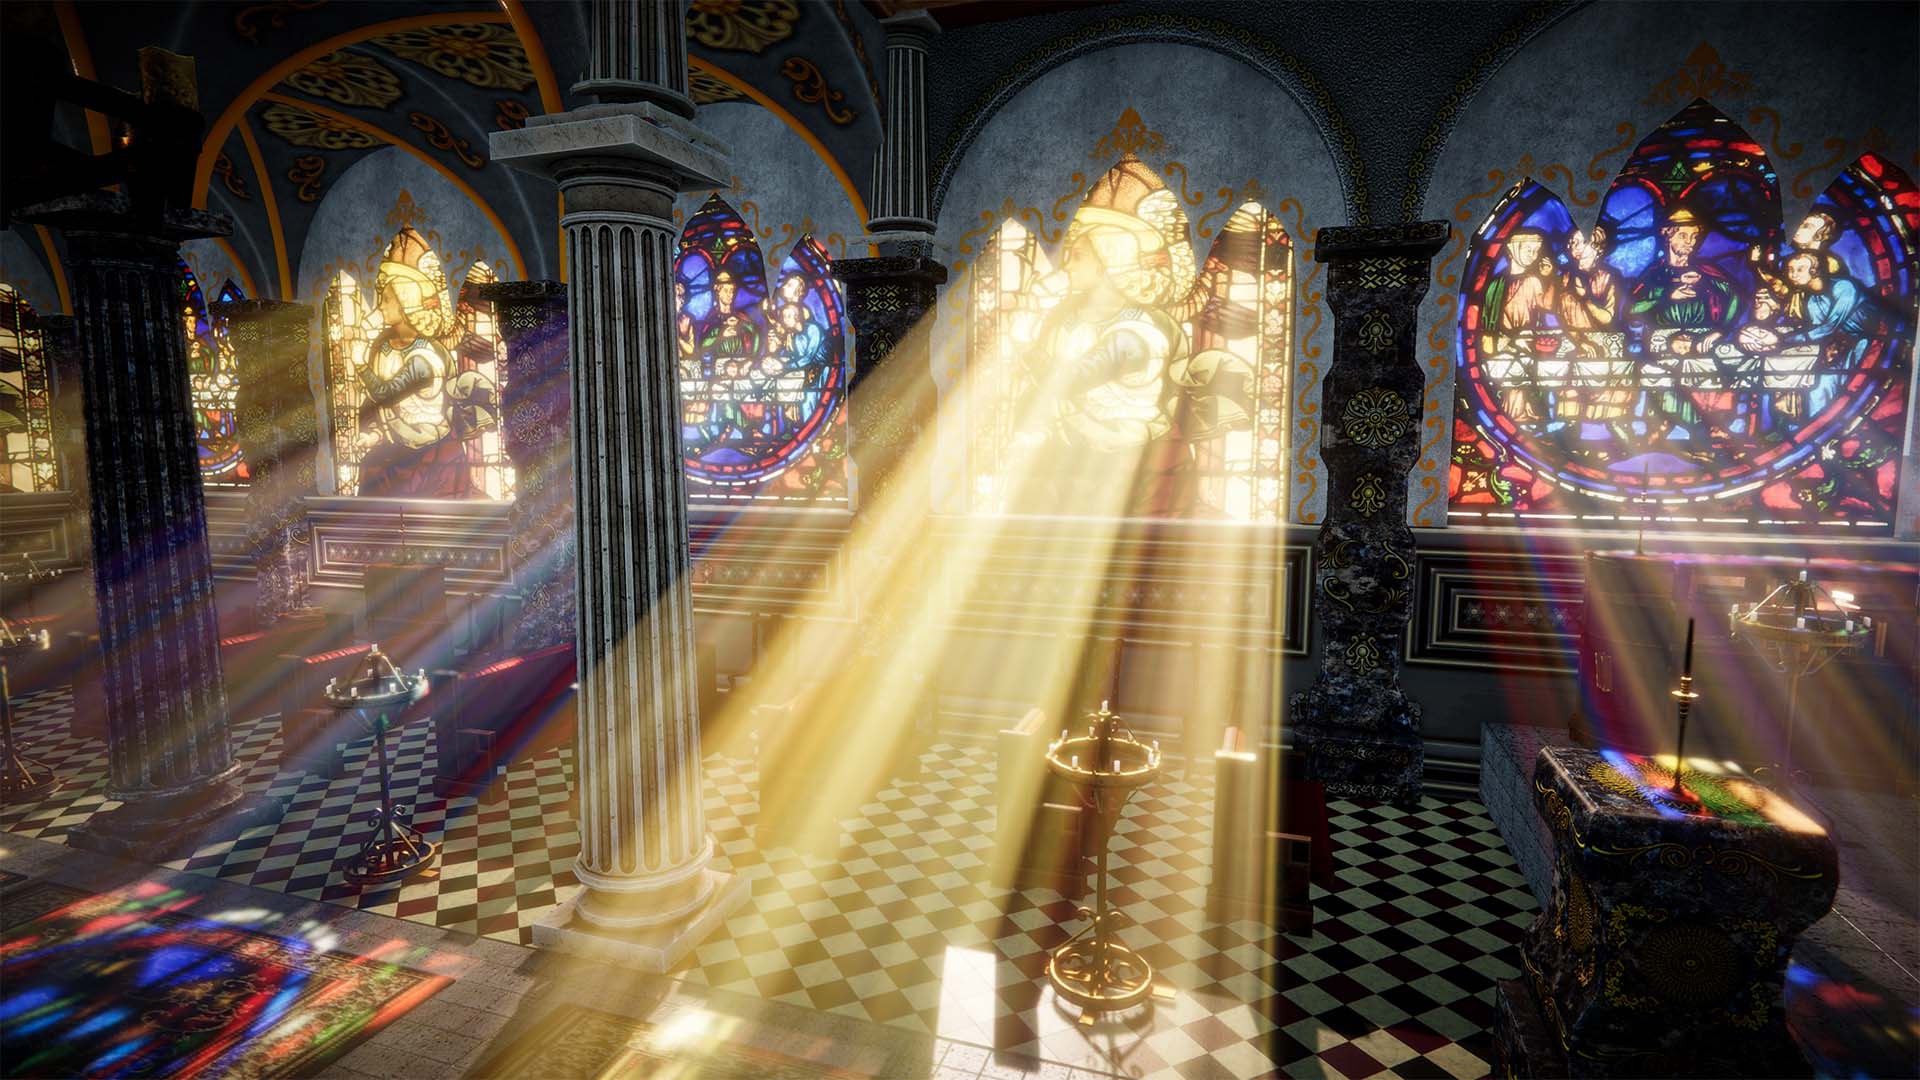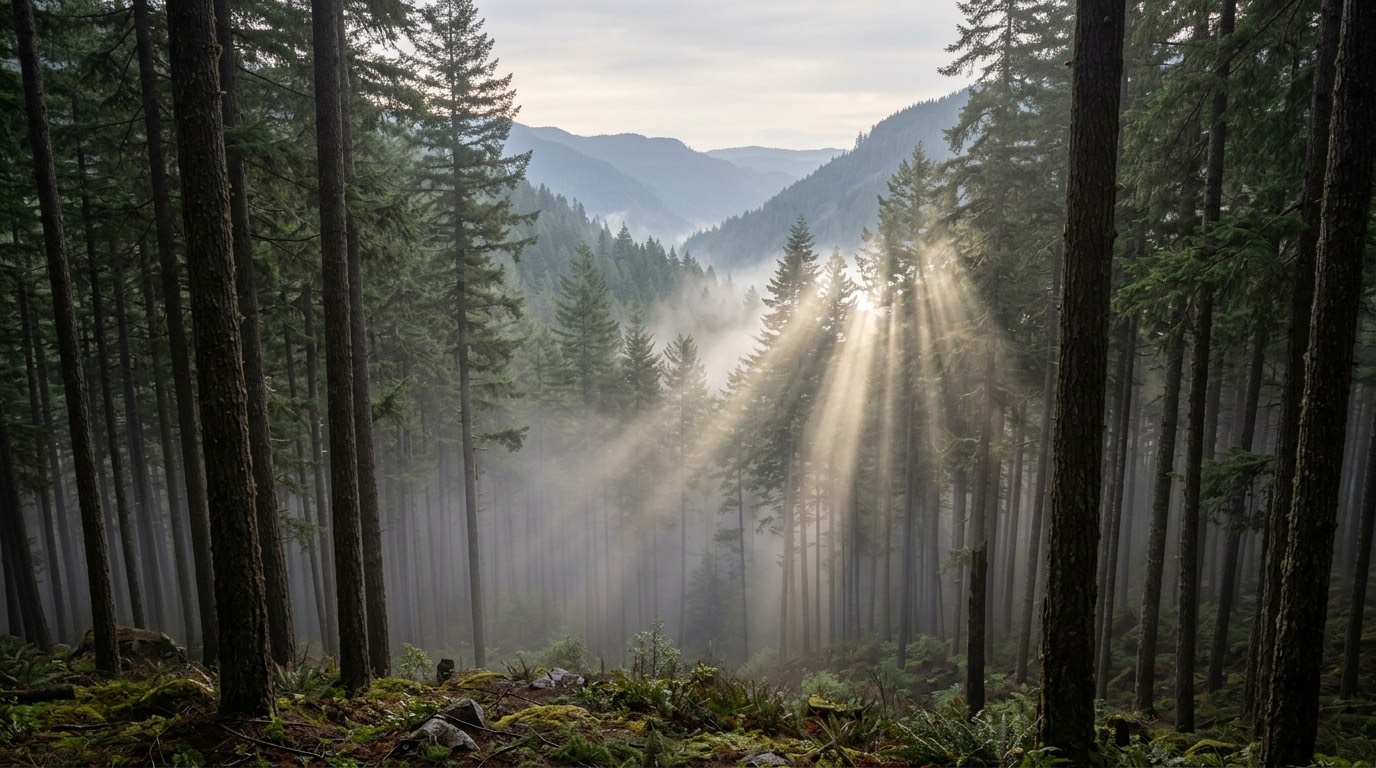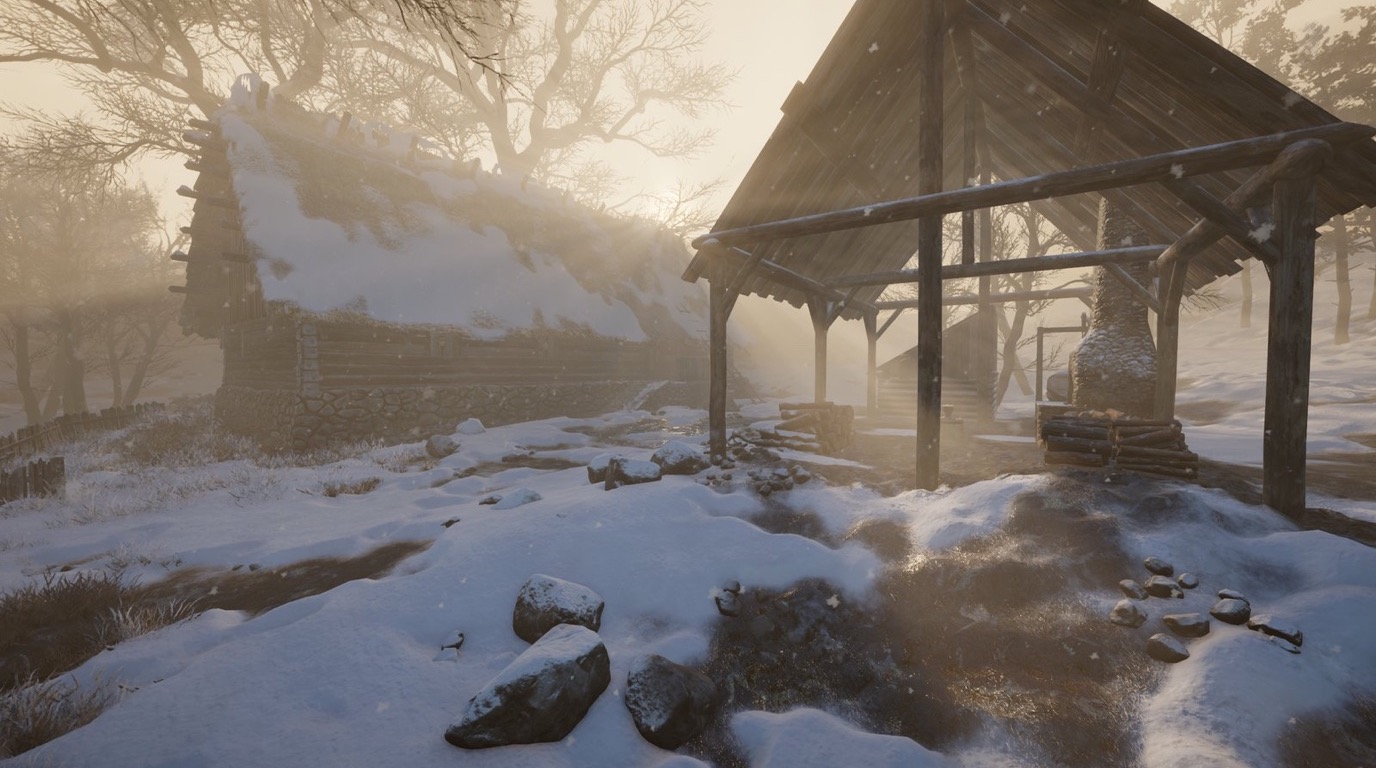
Weather is one of the fastest ways to change how a scene feels. The same village reads as cozy under fresh snow, tense in a rain storm and quiet on a frozen morning. It also tells the player something: it is cold here, the road is slippery, someone walked this way a minute ago.
The trouble is that "snow" and "rain" in a real-time engine are not one effect each. They are six separate problems, and each one has its own cost and its own trap. This guide goes through all six for Unity's Universal Render Pipeline, and then covers how to change the weather over time and what it costs on the GPU.
We make Global Snow & Rain 3, a Unity asset built around these questions, so we use it for the examples. The ideas apply to any approach you choose, and we will also tell you where ours stops.
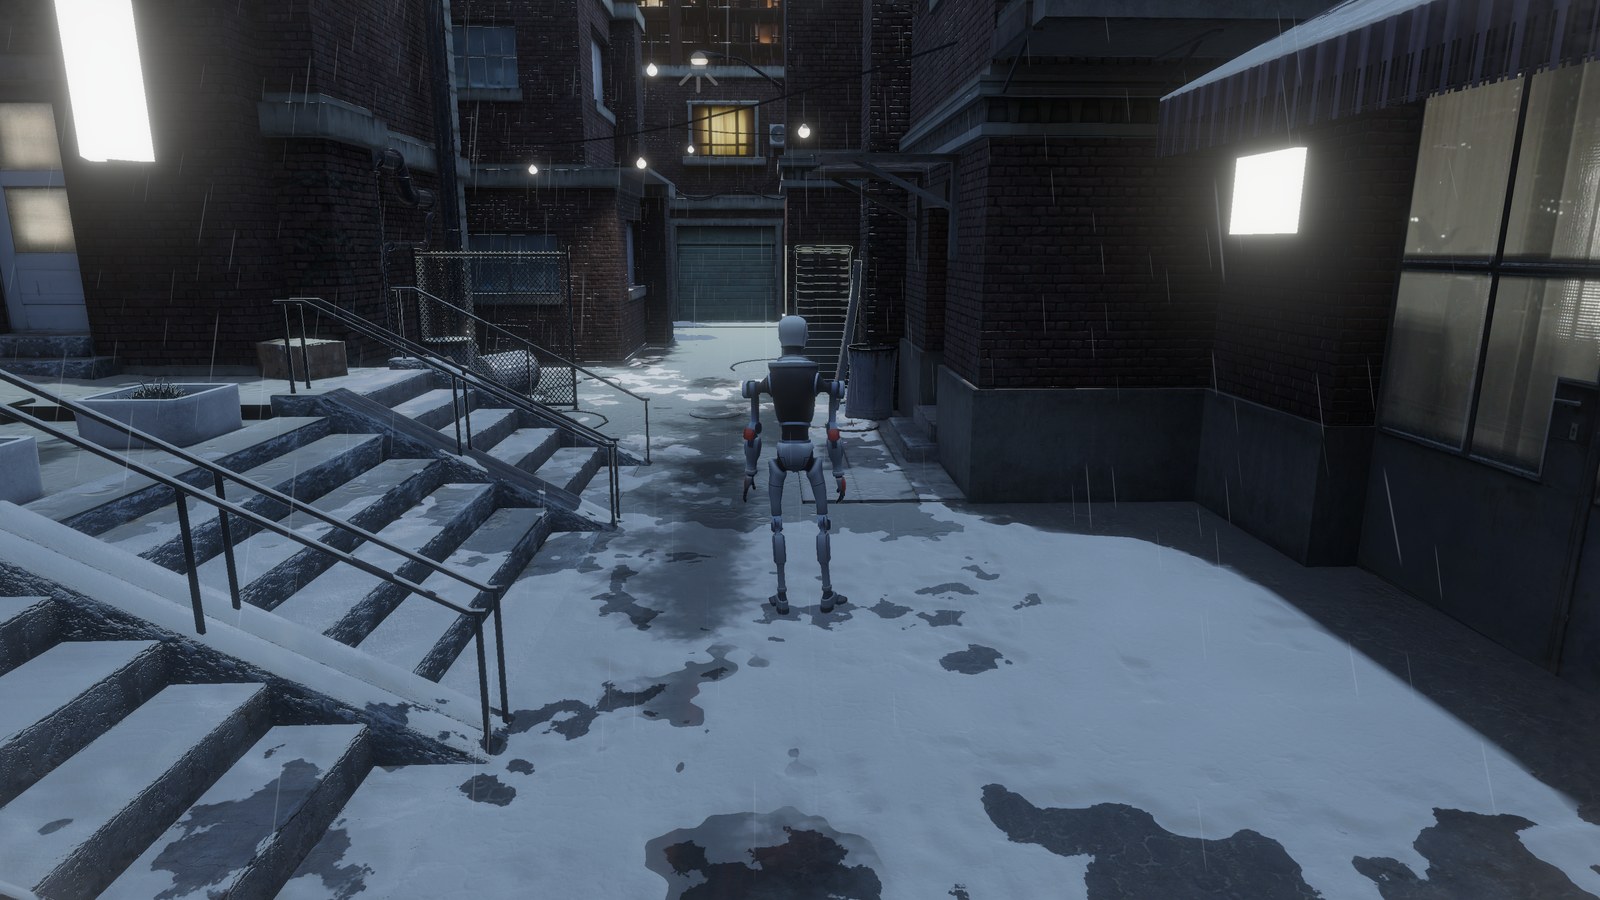
What makes weather hard in real time
A convincing snowy or rainy scene needs six things to work together, and each one hides a trap that shows up late, when the level is already built:
- Coverage. Snow belongs on surfaces that face the sky. The trap is everything under a roof, a bridge or a porch, and players notice it first.
- Thickness. Real snow has volume: it rounds the edges of steps and hides what lies on the ground. The trap is a white tint that looks like fresh paint.
- Interaction. Footprints, wheel tracks and the marks of falling objects make the world feel alive. The trap is a character who crosses a white field and leaves nothing behind.
- Water. Rain needs wet surfaces, puddles on flat ground and drops that react to the wind and to the camera. The trap is rain that falls indoors.
- The air itself. Snowflakes, rain streaks, gusts of wind and the white haze of a blizzard. The trap is snow that drifts one way while the rain leans the other.
- Change over time. Weather rarely stays the same for a whole level. The trap is a dozen sliders that all have to move together.
URP gives you the building blocks, such as particles, Shader Graph and decals, but none of these pieces ready to use.
1. Where the snow lands: three ways to cover a scene
There are three common ways to put snow on a scene in URP, and the choice decides how much work you will do later.
Snow in every shader. The classic approach blends a snow layer into each material where the surface normal points up. It is easy to build in Shader Graph and gives full control per material. The cost is maintenance: every material in the project needs the snow layer, including the ones from asset packs, and the shader has no idea whether a surface is under a roof. Snow ends up inside porches and under bridges unless you mask it by hand.
Decals. URP decal projectors are great for a local snow patch or a pile of snow in a corner. They do not scale to a whole scene that has to change with the weather.
Snow on the G-buffer. With the deferred rendering path, URP first writes the color, normal and smoothness of every opaque surface into a set of buffers, and then lights them. An effect can change those buffers after your materials are drawn, so the snow is added to everything at once without touching a single shader. This is the approach Global Snow & Rain 3 uses. You add one component to the camera and one Render Feature to the URP renderer, and the whole scene gets snow.
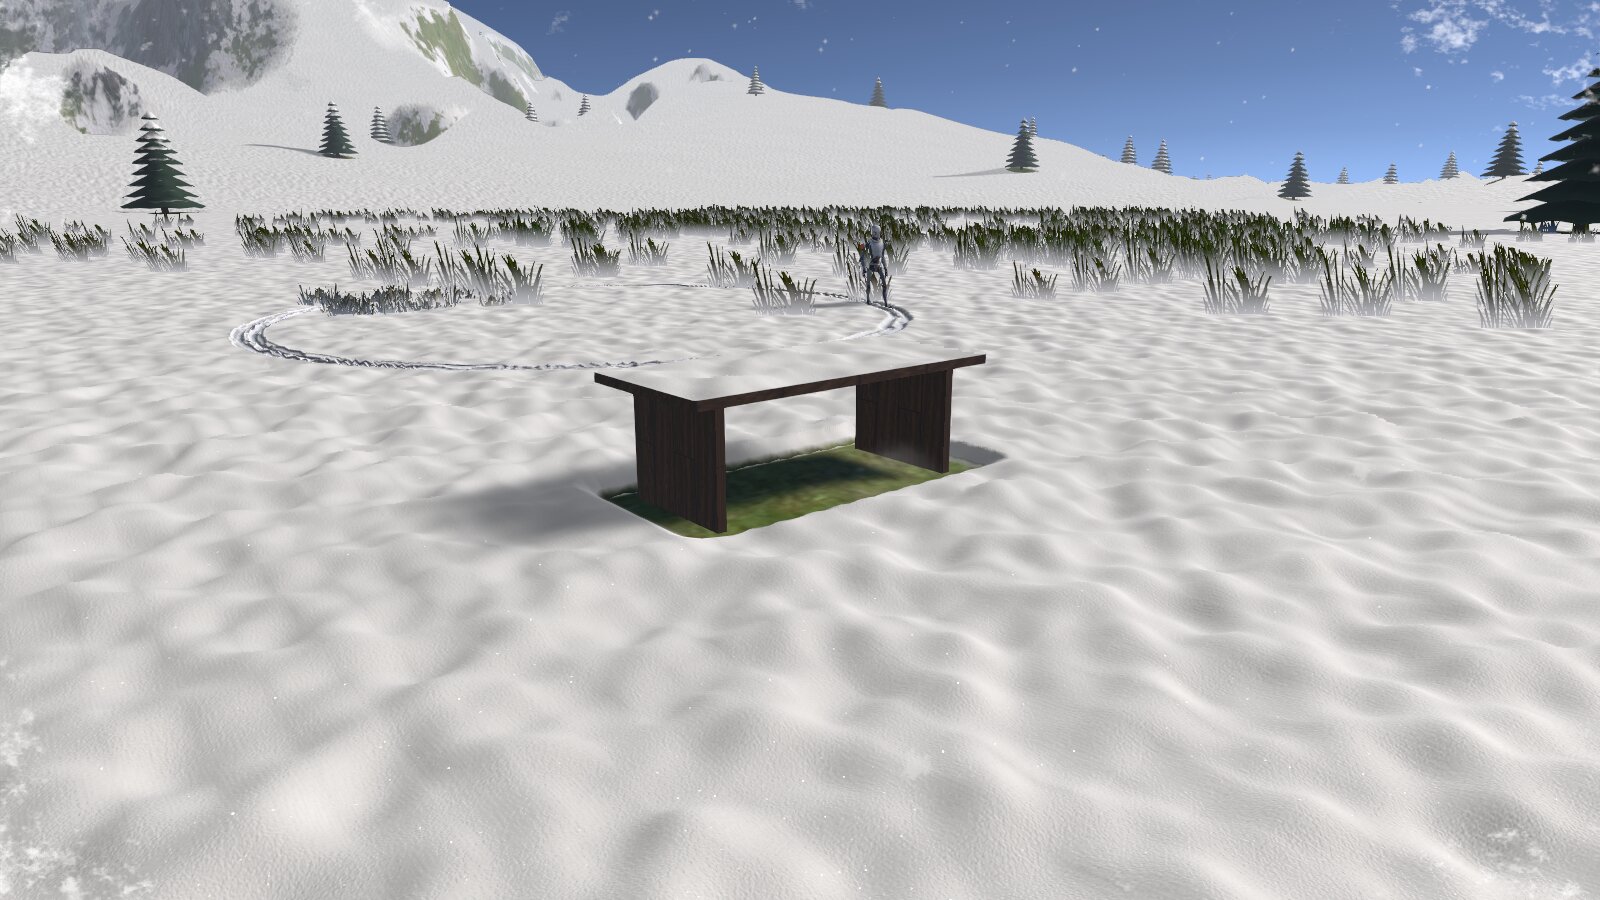
To know what is exposed to the sky, Global Snow takes a top-down capture of the scene around the camera. Roofs, porches and bridges keep the snow, the rain and the puddles away from what is under them, while trees painted on terrains let them through. When an object needs a sharper outline, such as a table, it can block the snow precisely:
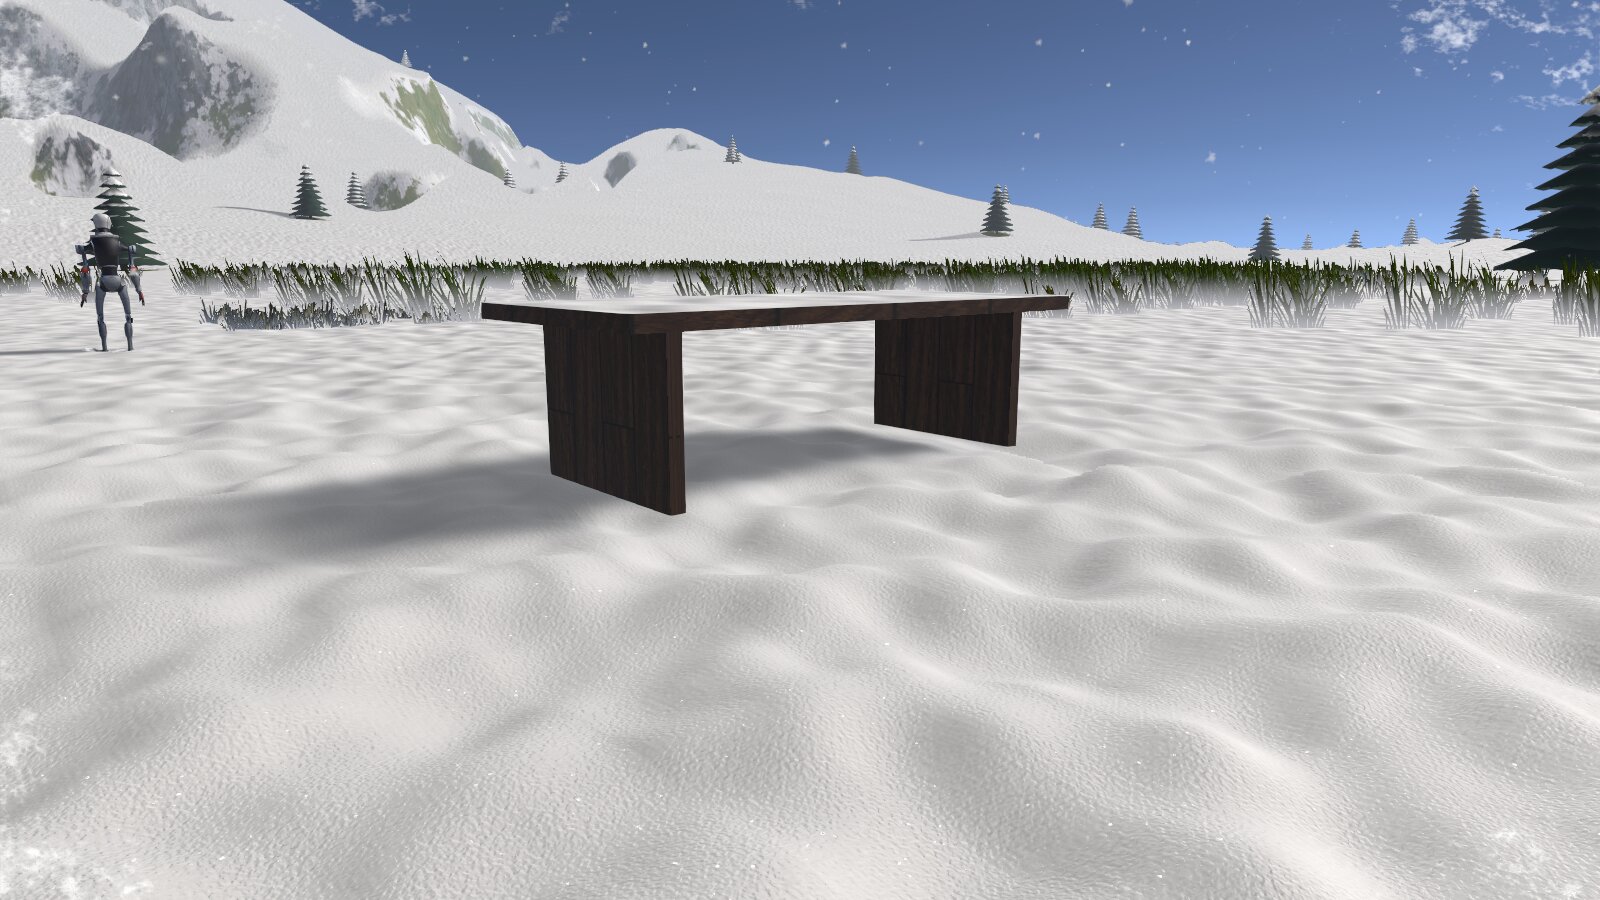
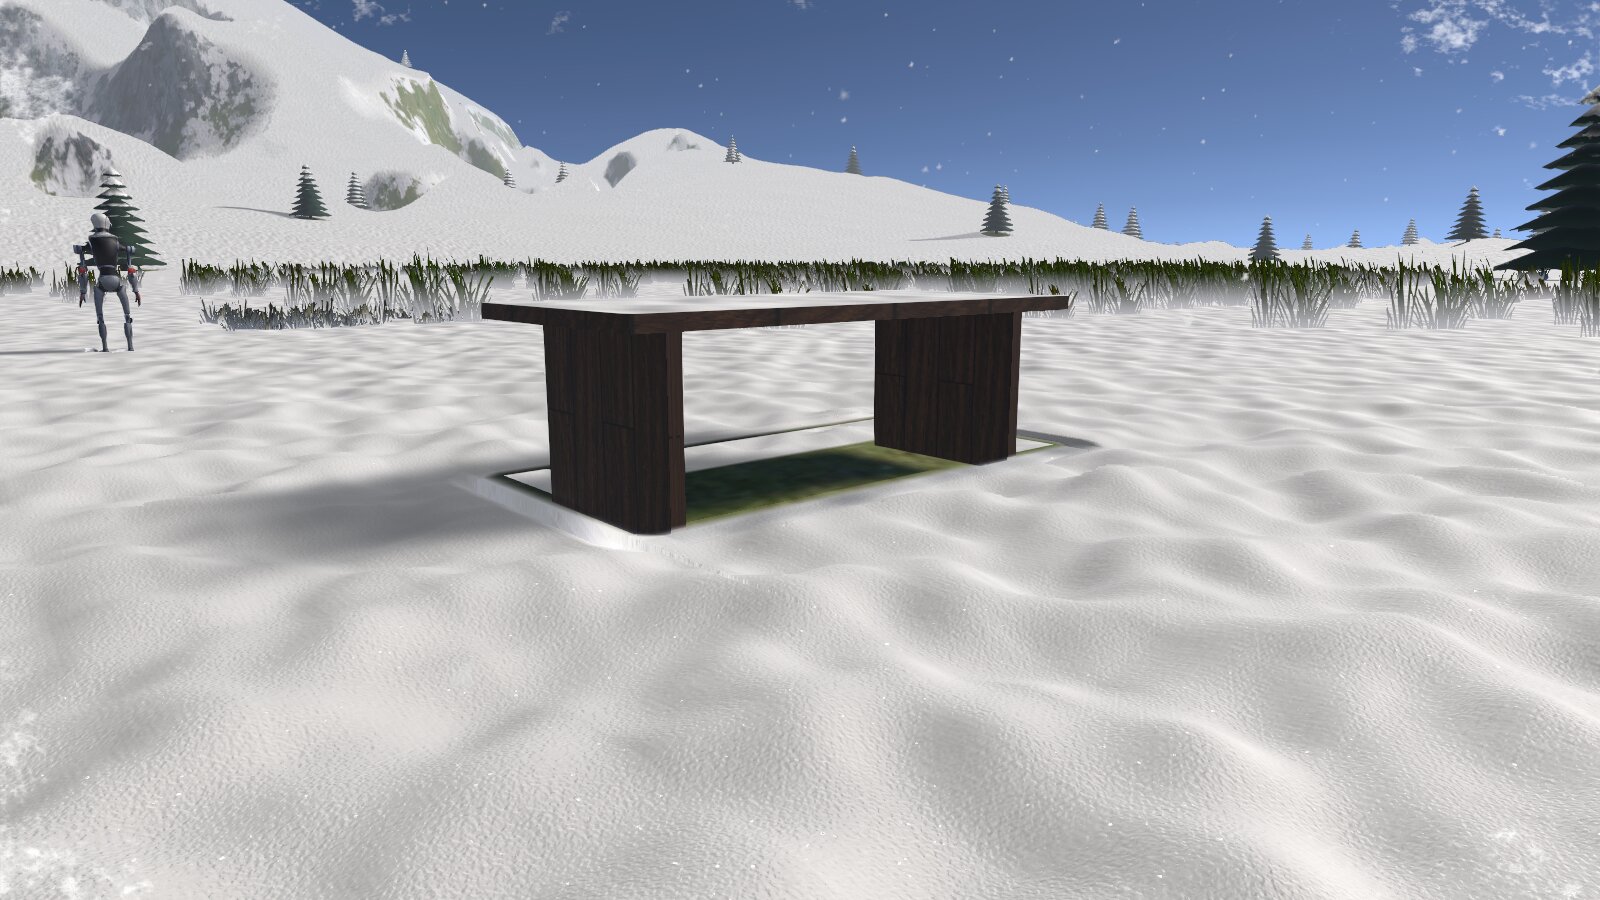
Left: the snow gets in under the table and buries its legs. Right: with precise blocking, the ground under the table stays bare.
The trade-off is the rendering path. A G-buffer effect needs the Deferred or Deferred+ path, so Forward and Forward+ projects are out. Global Snow & Rain 3 also needs Unity 6 with the Render Graph turned on. Opaque materials drawn into the G-buffer, such as URP Lit or a Lit Shader Graph, get snow with nothing to do. Shaders that draw only in the forward pass, which is common for tree leaves, get it through the Add Snow To Forward Opaques option. Transparent materials do not get snow.
2. Snow with a real thickness
A snow tint on top of the ground is enough for distant hills, but up close the eye expects volume. Global Snow shades the snow at three levels, Flat Shading, Normal Mapping and Relief Mapping, with glitter and a soft shading toward the sun. On top of that, the Snow Accumulation gives the snow a real thickness on the objects you choose, such as terrains, roads and roofs.
The accumulation buries what rests in it, slopes down to zero at the edges of each surface and follows the steps of a stepped roof. Where it is deeper than 5 cm it is opaque, so a rock sitting in the snow really looks half buried. Two practical notes: the accumulation is off by default, and it only appears on the objects in its Receivers list, so start by pressing Add Terrains and then drag in the roads or roofs that need it.
Natural snow lines matter as much as the snow itself. A minimum altitude, limits on steep slopes and bare patches break up the white so the scene does not look like it was dipped in paint. A Coverage Mask painted with a brush in the Scene View clears paths, yards and roads. Grass and plants need their own care: Global Snow covers terrain grass with its own settings, and plants placed as objects through Vegetation Layers or a Shader Graph node.
3. Footprints, tracks and deep marks
A snow field without tracks is a backdrop. A trail across it lets the player follow someone, read what happened here or find the way back. There are two kinds of marks, and it helps to know which one you need.
Surface marks are drawn on the snow. Footprints use a sole texture for each foot, so a character leaves left and right prints where its feet land. On humanoid rigs the feet are found from the Animator. For animals, a Detect Feet button looks for the foot, paw or hoof bones, and each animal can have its own sole. Collision Marks appear wherever objects touch the snow, on the ground or on roofs. Surface marks also work without the accumulation, which makes them the right choice on low-end devices.
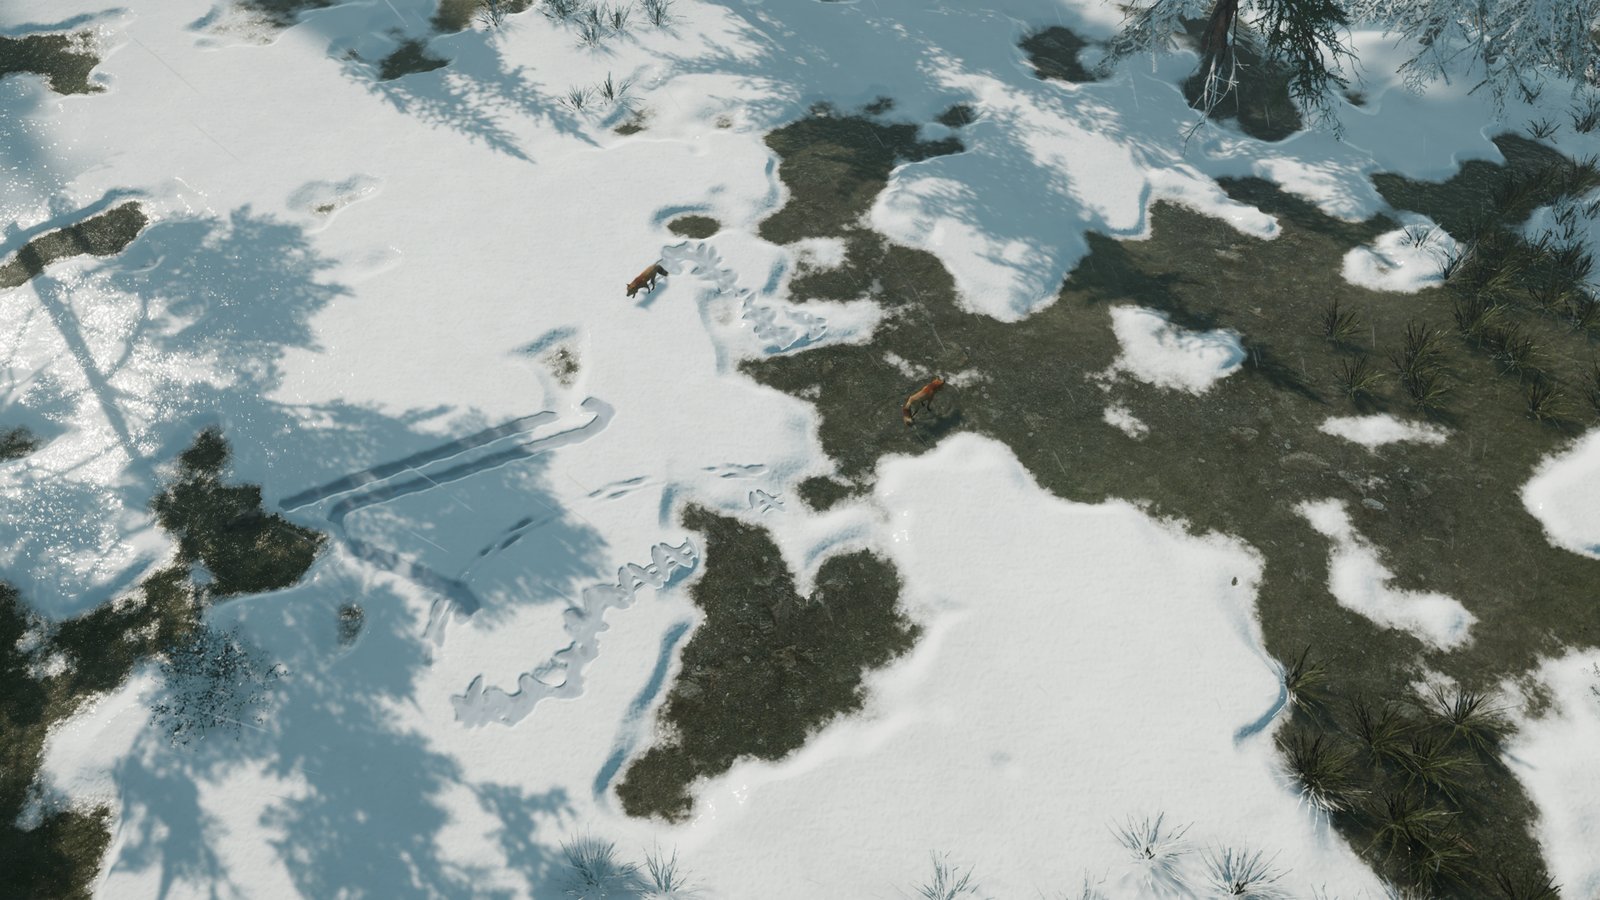
Deep marks dig into the Snow Accumulation under characters, physics objects and vehicles, with raised rims and shadows. Each object has a sink depth, so a deer barely breaks the surface while a truck cuts down to the road. Vehicles and blades can also plow the snow aside.
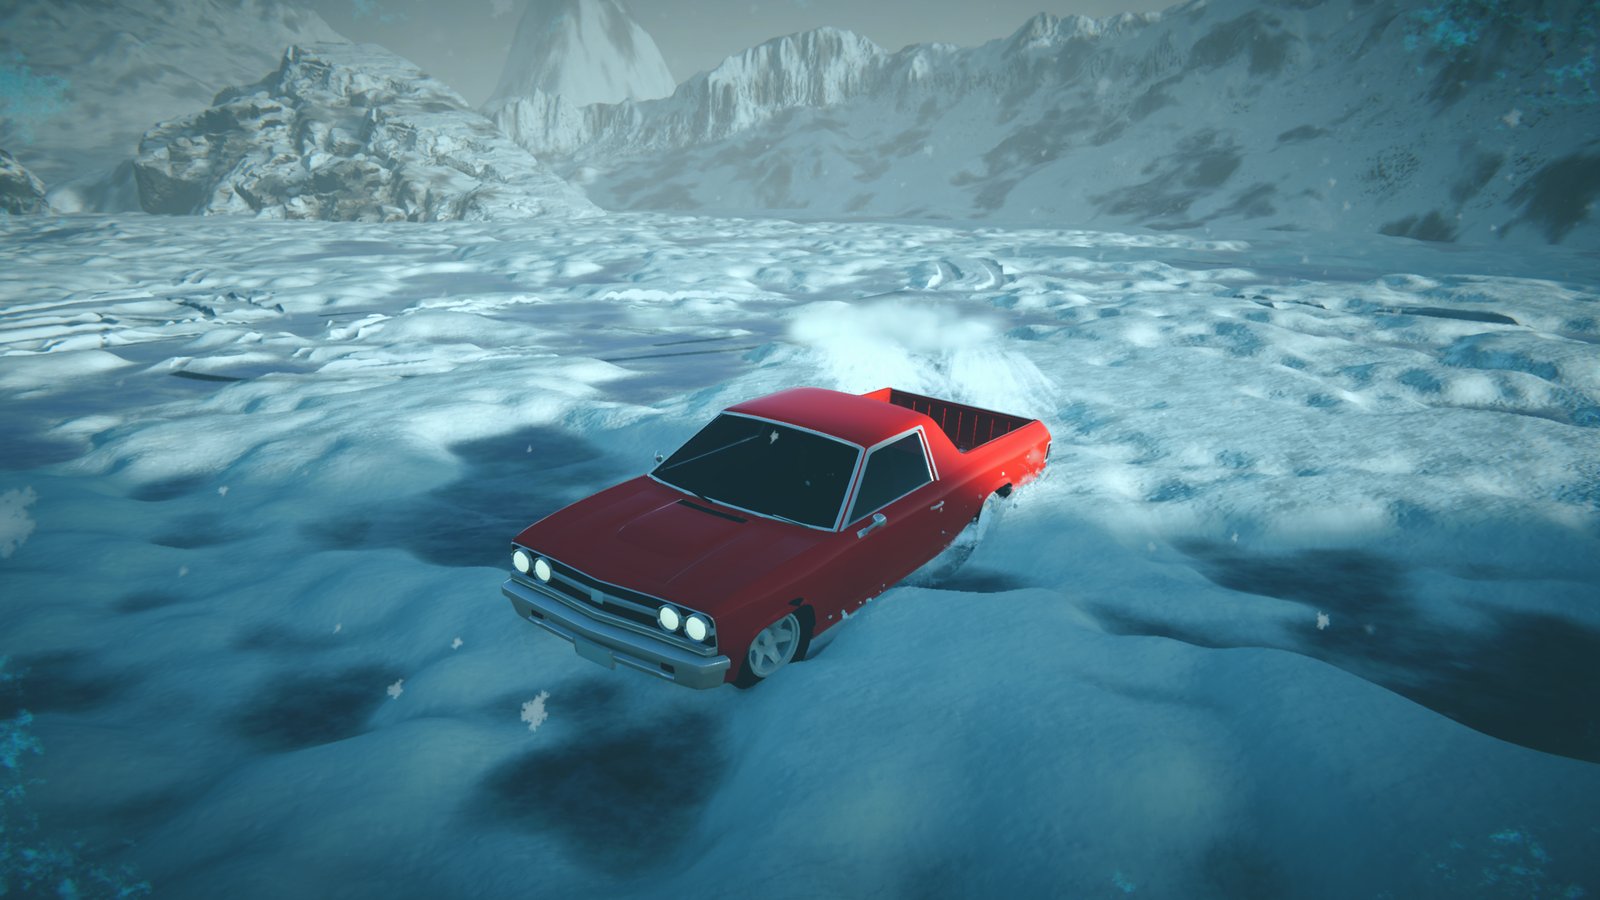
Deep marks show up to 38 meters from the camera and fill back in over time, so a busy path does not end up as a trench forever. Turn on Footprints or Deep Marks, add the Global Snow Interaction component to a character, an animal or a vehicle, and it starts marking the snow in Play mode.
The marks also talk to your code. A callback is called each time a foot lands, and one more call tells you if that spot has snow, water or ice, so you can play the right footstep sound. Two limits are worth knowing: deep marks work only in Play mode, and the marks are not saved with the game.
Global Snow & Rain 3 is 30% off during its launch, until November 24.
See it on the Asset Store4. Rain that knows where it can reach
Good rain is mostly about the surfaces, not the drops. Dark, shiny ground reads as rain even with few streaks in the air, and streaks over dry ground convince nobody. The wet look only works where the rain can actually fall. Global Snow uses the same top-down capture as the snow, so a covered gas station stays dry, and under a small roof the wind still pushes the rain onto the walls that face it.
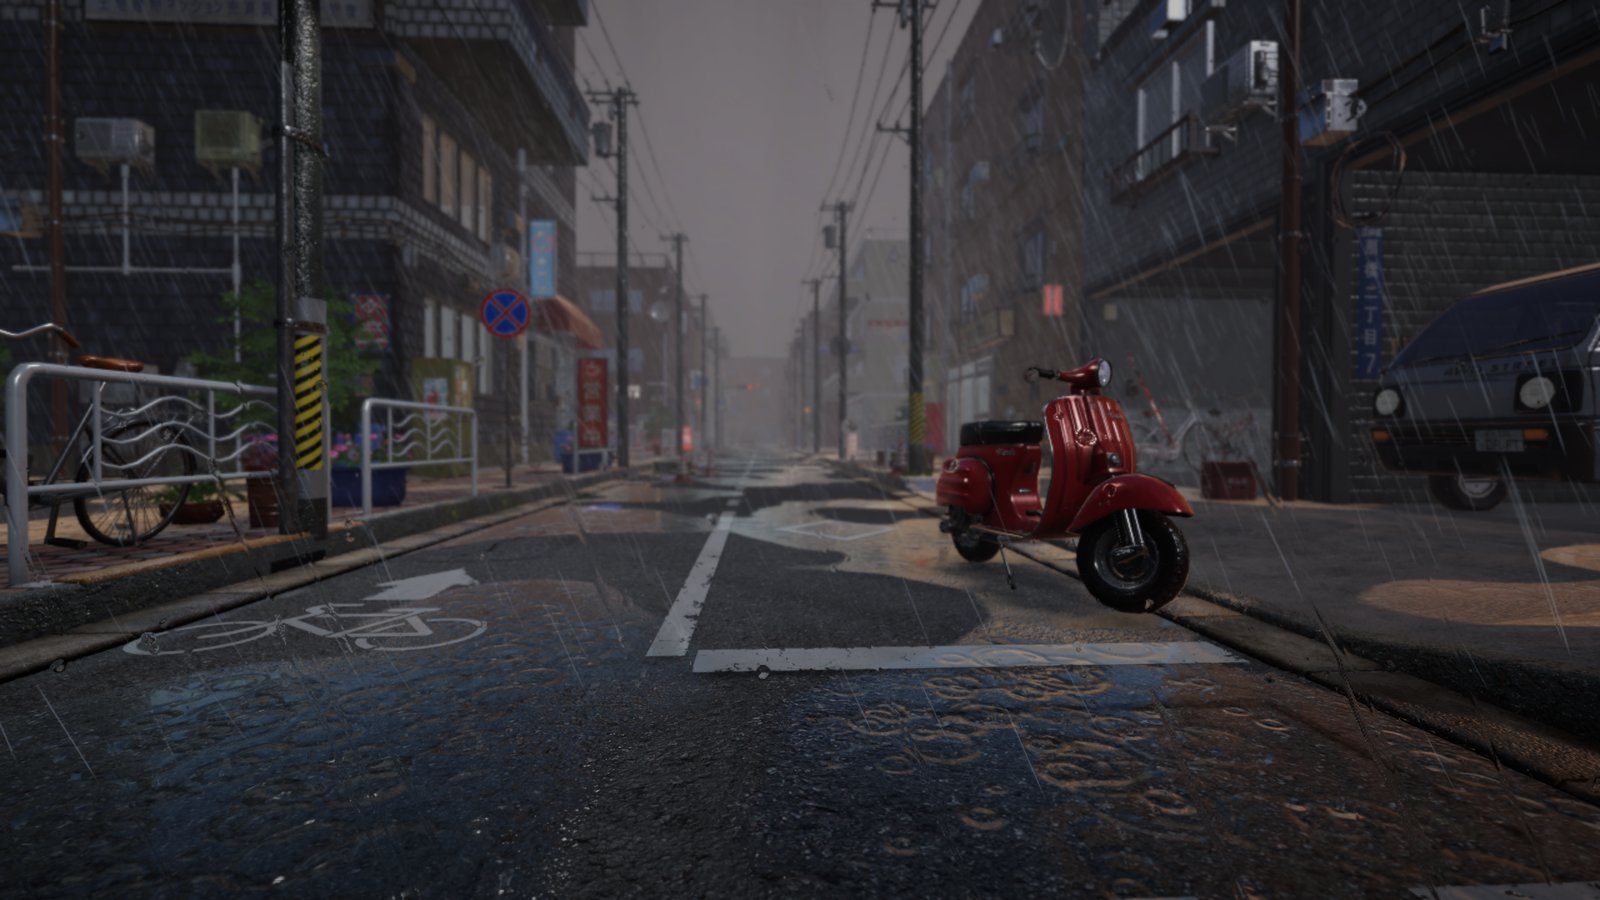
Puddles collect on level ground, with ripples from footprints, impacts and the wind, and rings from the falling drops. They freeze when it gets cold, and a Puddle Editor lets you paint where they form. With puddles on, the footprints and deep marks in the snow fill with water too. Wet surfaces dry as soon as the rain stops, but puddles are a setting of their own, so you can keep them, which is one of the simplest ways to tell a story: it rained here an hour ago.
Close to the camera, running drops slide down wet surfaces, merge and leave trails, and splashes jump off the ground. Camera Rain puts drops on the lens, and it behaves the way a real camera does: more drops land when you face the rain or move into it, none when you look down or turn your back to it, and under a roof the lens dries out. During storms you can add lightning strikes as well.
5. Frost and the cold
Cold weather is not only snow. Frost on the ground and on the lower part of walls, frozen puddles and frost on the edges of the camera view tell the player that the temperature dropped, even on a clear day.
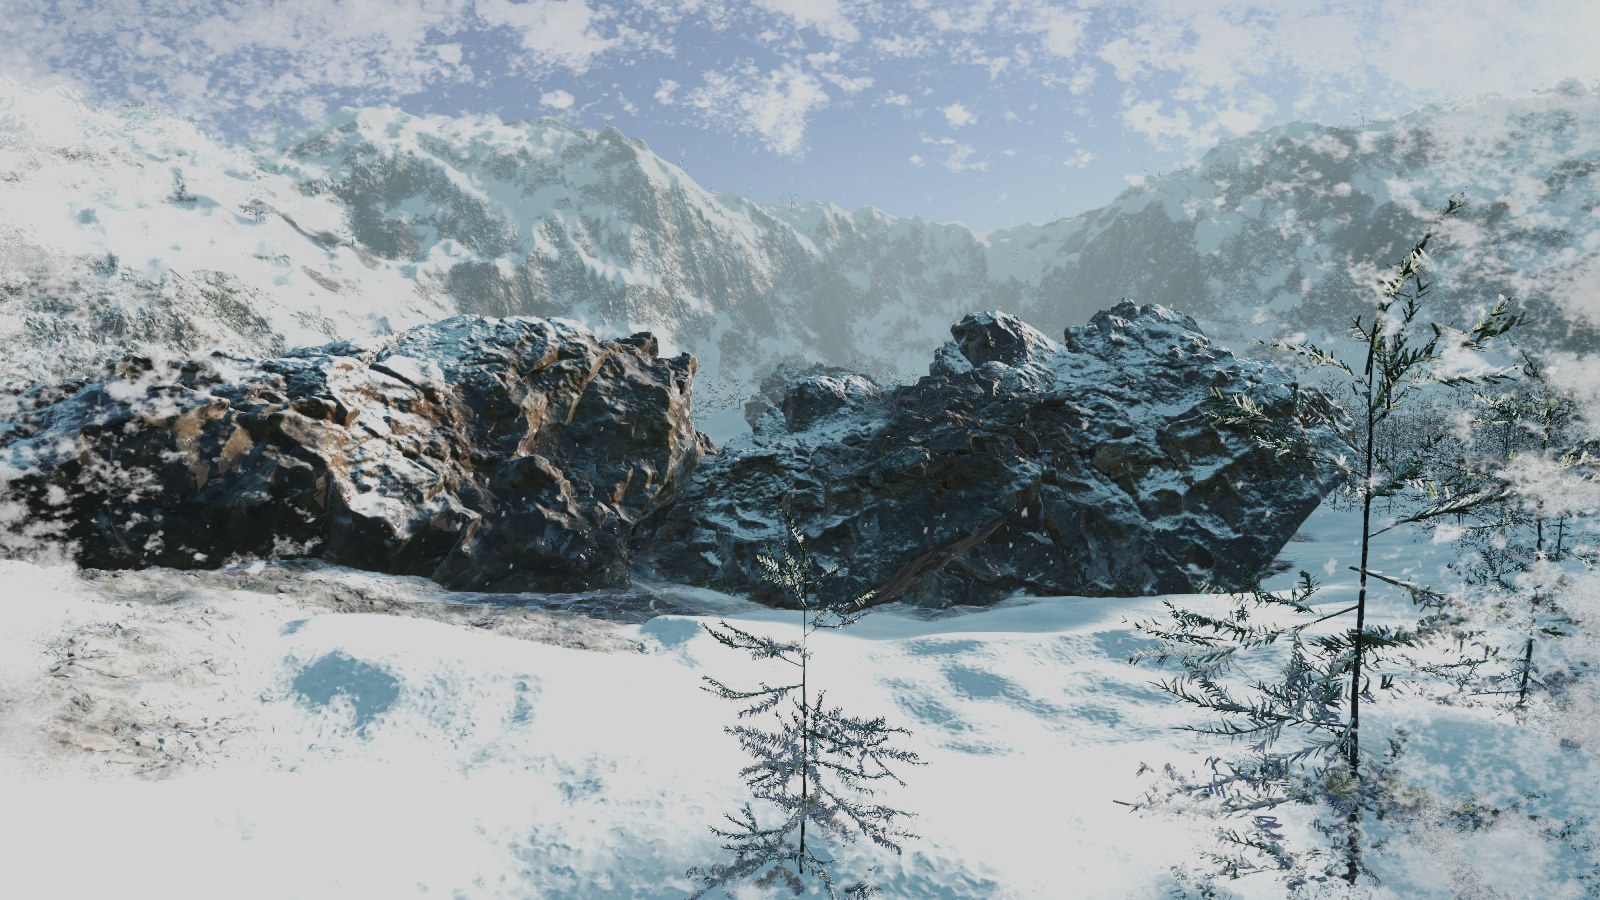
In Global Snow the frost follows the temperature, and rain melts it, although a strong frost survives a light rain.
6. Snowfall, dust and wind
The falling snow is generated around the camera, from a few light flakes to a blizzard with motion streaks, density waves and a white haze in the distance. Near the ground, puffs of snow dust drift with the wind and stay out of shelters. Snowfall, snow dust and rain all share one wind, which you can set by hand or read from a WindZone, so everything in the air moves the same way.
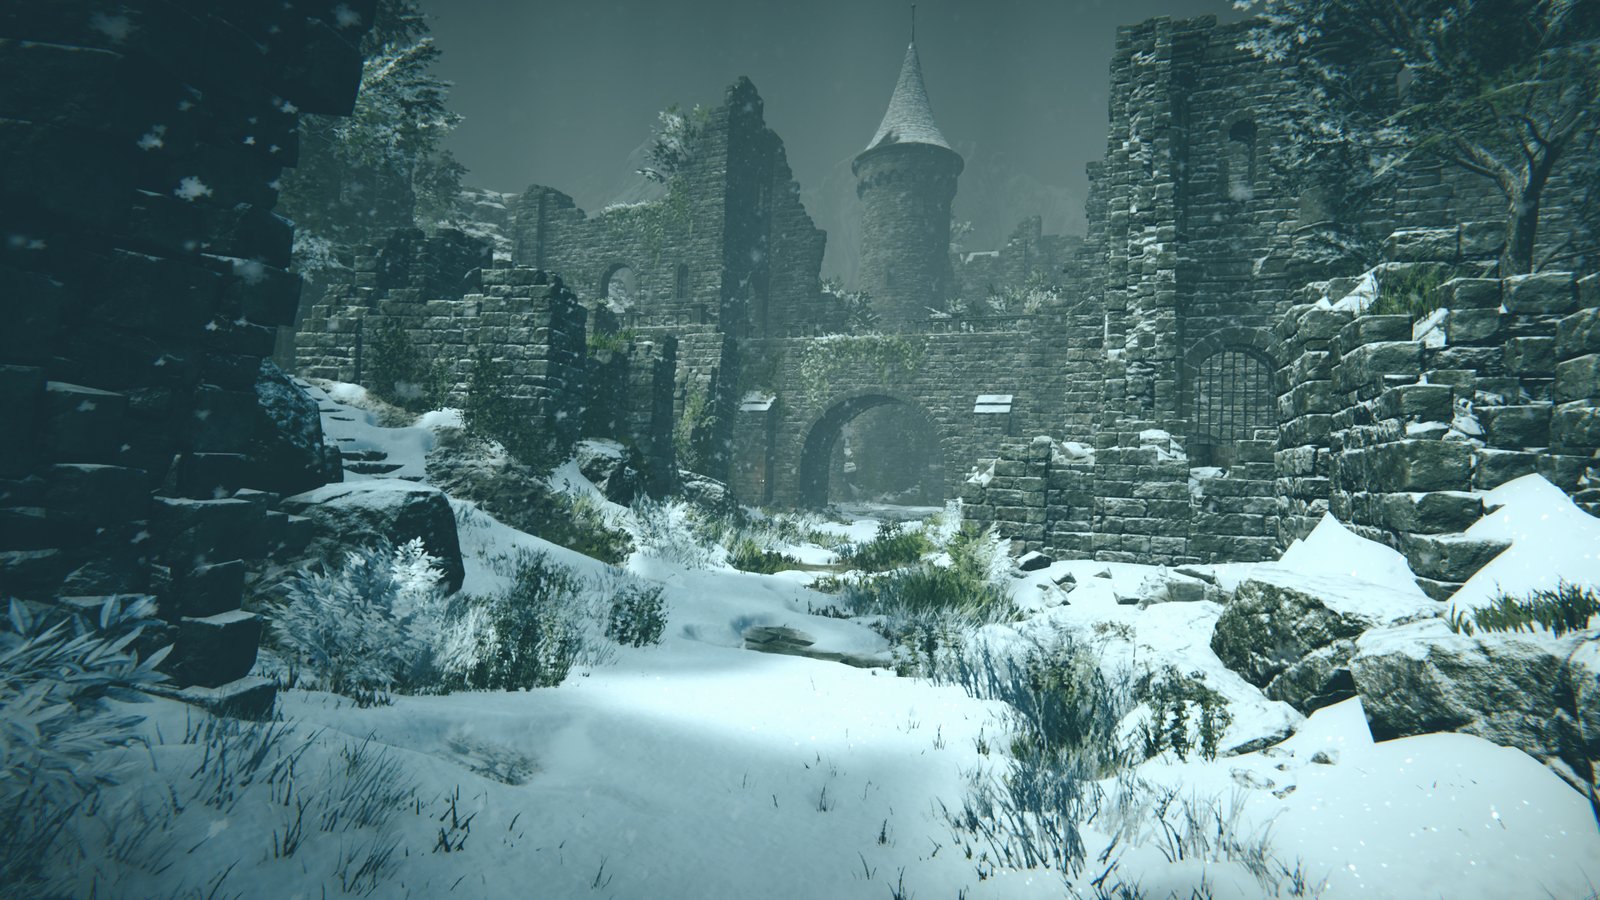
That covers the six problems. If you would rather not build them yourself, all of this is in Global Snow & Rain 3 on the Asset Store. What is left is changing the weather, keeping the frame rate up and checking the requirements.
Changing the weather with two values
All of this would be tedious if every effect had its own set of sliders to keep in sync. In Global Snow & Rain 3 two values at the top of the inspector do most of the work: Temperature and Intensity. Snow falls up to -2 °C, wet snow up to +1 °C, snow and rain mixed up to +3 °C, and rain above that, while Intensity goes from 0 (none) to 5 (extreme). The inspector shows the result by name, such as Medium Wet Snow or Rain Storm. Two more values, Snow and Puddles, set the snow on the ground and the still water, because the temperature alone does not melt the snow that already fell.
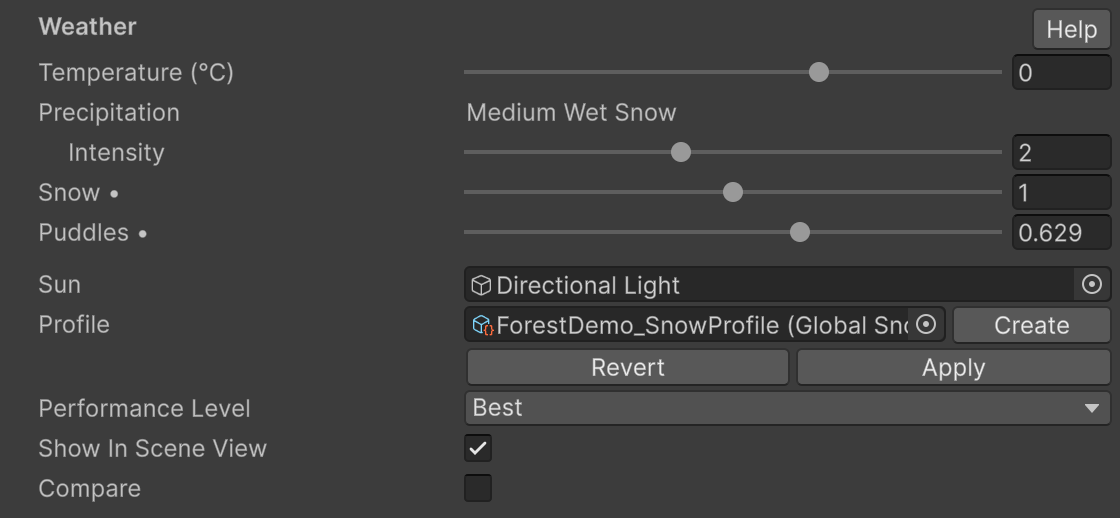
From a script the same values are one call away:
GlobalSnow snow = GlobalSnow.instance;
snow.SetPrecipitation(temperature: -8f, intensity: 4f);
snow.snowAmount = 1f;
snow.puddleAmount = 0f;
For gradual changes and seasons, save each weather in a profile and blend into it over time. A storm that rolls in over ten seconds looks like this:
GlobalSnow snow = GlobalSnow.instance;
GlobalSnowProfile storm = GlobalSnowProfile.FromCurrent(snow);
storm.SetPrecipitation(temperature: -8f, intensity: 4f);
snow.TransitionTo(storm, duration: 10f);
Keep in mind that there is one weather for the whole scene. For a valley with rain below a snowy mountain top, you blend into another profile when the player enters a trigger.
The URP performance playbook
Because the snow is added to the G-buffer, its base cost does not grow with the number of materials in the scene. What costs time is the set of features you turn on. These are the habits that keep the frame rate up:
To give you an idea of the cost, we measured the ForestDemo scene that comes with the asset at 4K, in a release build on a Mac with Apple Silicon, with snow only. These are the times of the whole frame, scene included:
| Snow shading | Global Snow & Rain 3 | Global Snow 2 |
|---|---|---|
| Flat Shading | 6.47 ms | 7.71 ms |
| Normal Mapping | 7.01 ms | 8.03 ms |
| Relief Mapping | 8.65 ms | 8.72 ms |
The falling snow is almost free on the CPU: 0.03 ms at intensity 1, against 0.85 ms in Global Snow 2. Your numbers will depend on your hardware and your scene, and this demo is a heavy one, with about 53 million triangles.
- Start with a Performance Level. Best, Medium and Fastest cap the main quality settings, and Custom uses your values as they are. Fastest is meant for low-end devices: it turns off the accumulation, the running drops and the splashes, and draws half the snowflakes.
- Turn unused effects off. An effect at 0 is skipped. If a scene needs no water, leave Rain and Puddles at 0 and the water work is not done at all.
- Watch the running drops. They are the heaviest part of the rain. Half resolution roughly halves their cost.
- Keep the Receivers list short. Every mesh with a real snow thickness adds GPU time near the camera, so add only the ground that needs it, such as terrains, roads and roofs.
- Lower the shading level for distant or busy views. Flat Shading is the fastest, Normal Mapping sits in the middle and Relief Mapping looks best up close.
The performance tips page has the full table of what each level changes.
Before you start: will it fit your project?
Check the requirements first:
- Unity 6.0 or newer with URP, and the Render Graph turned on.
- The Deferred or Deferred+ rendering path in your Universal Renderer.
- VR works in Single Pass Instanced and Multi Pass.
It is not the right tool if your project has to stay on Forward or Forward+, if it cannot move to Unity 6, or if the surfaces that need snow are transparent.
If you already use Global Snow 2, the upgrade guide lists what carries over and what to check, and Global Snow 2 owners get Global Snow & Rain 3 at a reduced upgrade price on the Asset Store.
From an empty scene to snow in five steps
If your project passes that check, the setup is short. After you import the package:
- Set the Rendering Path of your Universal Renderer to Deferred or Deferred+.
- Add the Global Snow Render Feature to the renderer of every URP asset your quality levels use, above Screen Space Ambient Occlusion. The inspector warns you when the order is wrong and fixes it with one button.
- Add the Global Snow component to your main camera.
- Check that its Sun field points to your main directional light.
- Turn on Snow Accumulation and press Add Terrains.
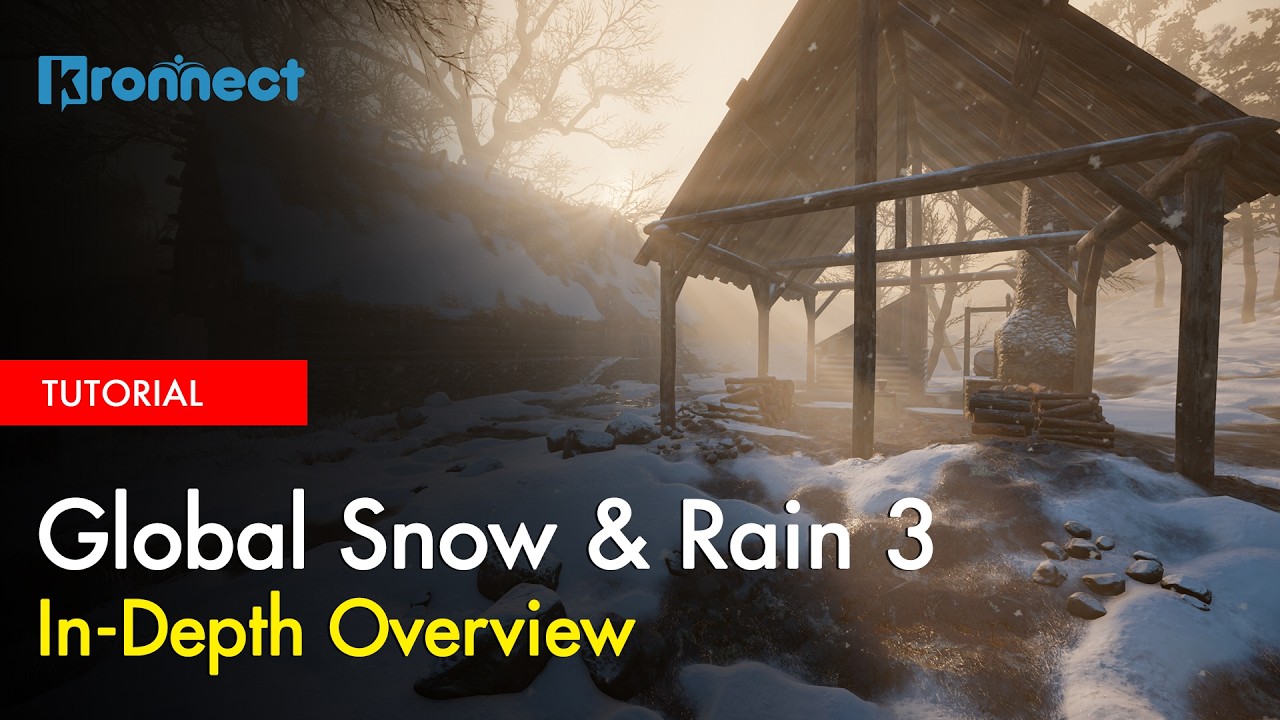
The snow shows in the Game View and in the Scene View, so you do not have to enter Play mode to see it. This tutorial walks through the complete setup from an empty scene, step by step:
 ▶
You can also follow the written quick start, or open the included ForestDemo scene, press Play and move the Temperature row of its on-screen Weather panel: raise it and the wet snow turns into rain, lower it and the pond freezes.
Ready to bring weather to your scenes?
Global Snow & Rain 3 adds snow, rain, puddles and frost to your whole URP scene without changing your materials, and it is 30% off during its launch, until November 24.
Get Global Snow & Rain 3 on the Asset Store Product details
Also available on the Kronnect store.