Setup
beginner conceptsVolumetric Lights 2 (URP) · Core Concepts
Setup — URP Configuration
These instructions walk you through the one-time URP configuration required before using Volumetric Lights 2.
Step 1 — Install the Universal Render Pipeline
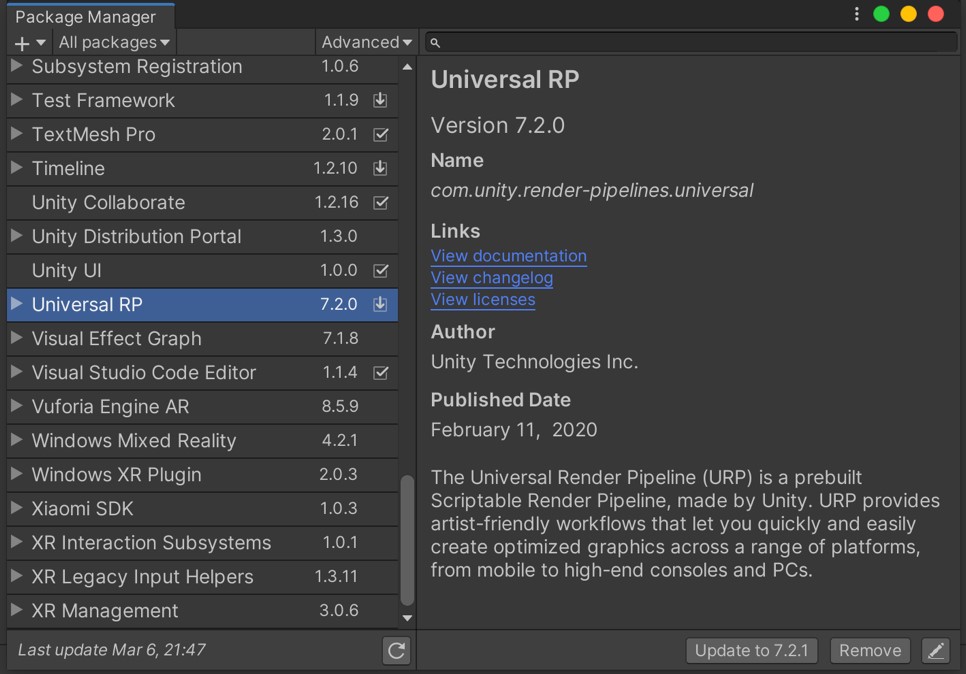
Open Window > Package Manager. Select Universal RP and click Install (version 12 or later recommended).
Step 2 — Assign the URP Asset
Go to Project Settings > Graphics and assign a Universal Rendering Pipeline Asset. You can use the asset included in the demo folder (VolumetricLights/Demo/URP Pipeline Settings).

Step 3 — Enable Depth Texture
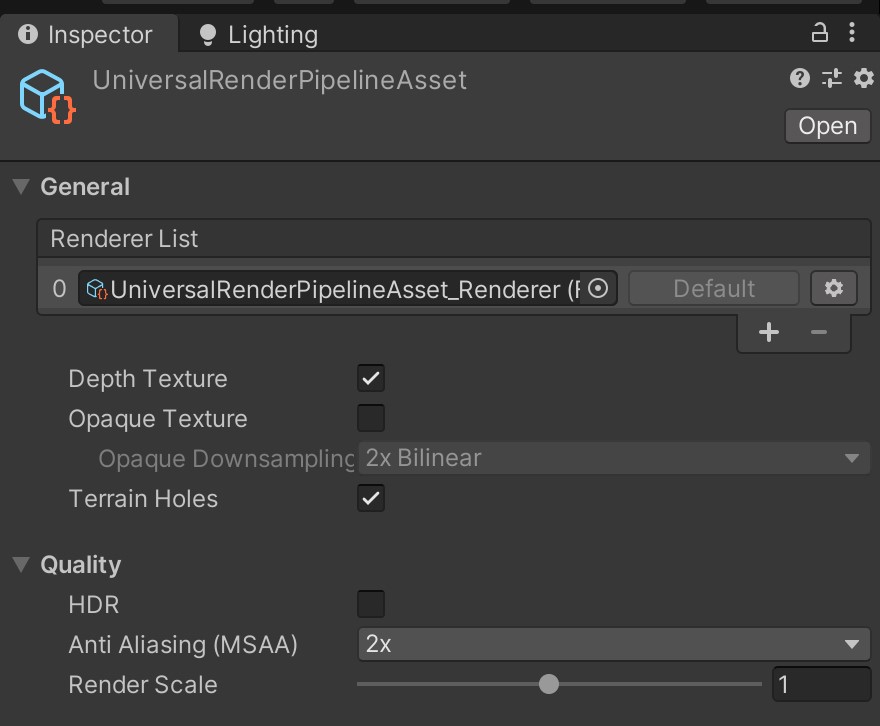
Double-click the URP Asset to open its properties. Enable Depth Texture. Enabling MSAA is also recommended.
Android Note
If you experience shadow issues on Android, switch to the Vulkan graphics API in Player Settings > Player.
Behind the scenes — Shadow Occlusion Depth Renderer
The first time you enable Shadow Occlusion on any Volumetric Light, the asset automatically adds an additional renderer named VolumetricLightsDepthRenderer to your URP Asset’s Renderer List. This is intentional and self-managed.
- What it does: captures a lightweight depth pass that the shadow occlusion system samples to determine which geometry blocks the light volume.
- Why Forward path: a depth pre-pass is significantly cheaper in Forward than in Deferred. The renderer is dedicated to this depth capture and nothing else.
- Scope: the renderer is only assigned to a hidden Shadow Camera child created under each volumetric light. Your main camera continues to use your Default Renderer (Forward, Forward+, Deferred or Deferred+) and is not affected.
- Coexistence: works alongside any Renderer Features you have on your main renderer.
Done!
Your project is now ready for volumetric lights. See Quick Start to add your first light.
Suggest an improvement
Help us improve this documentation page.