Quick Start
Beautify for Unreal · Quick Start
Beautify is a post-processing material. To use it, you create a material instance from it and add that instance to a Post Process Volume.
If the pack is not in your project yet, add it first as described in Installation.
1. Try the demo
Open the Demo map in Content/Beautify/Demo. It shows four paintings with the effect applied through the material instance M_BeautifyDemoInstance.
2. Create a material instance
- In the Content Browser, open the Beautify folder and locate the M_Beautify material.
- Right-click it and choose Create Material Instance.
Keep M_Beautify unchanged and make your adjustments in instances. You can create as many instances as you need, for example one per level or one per visual style.
3. Add the instance to a Post Process Volume
- Select the Post Process Volume of your level, or add one.
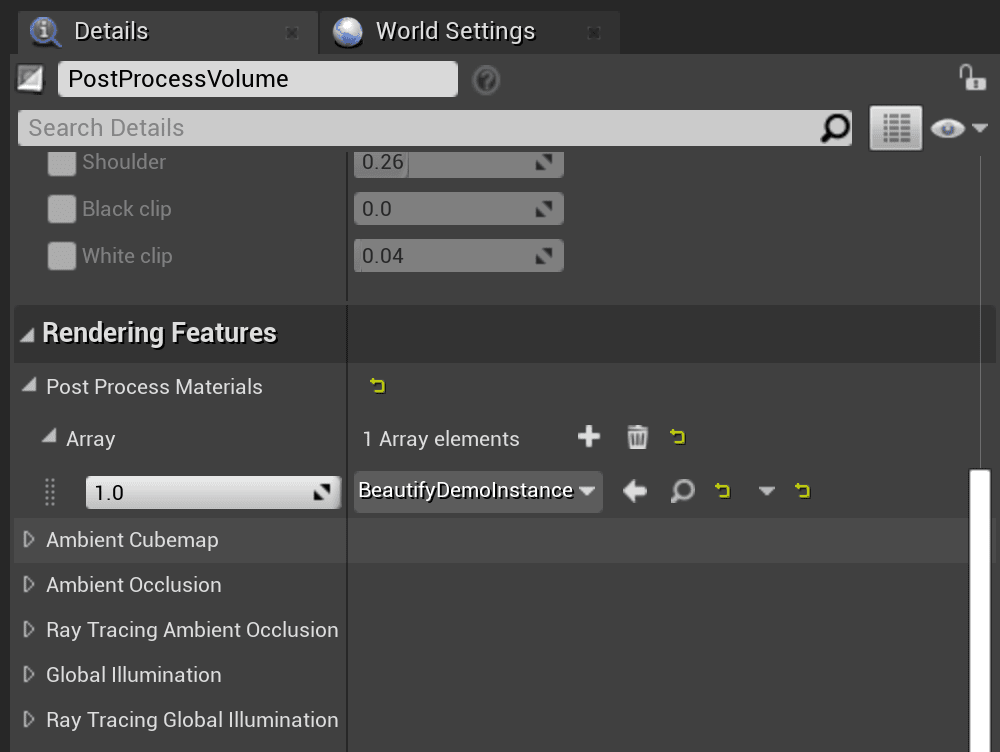
- In the Details panel, scroll down to the Post Process Materials list.
- Add an element to the list and assign the material instance you created.
4. Adjust the settings
Double-click the material instance to open it, then enable and adjust the parameters you want to change. See Parameters for a description of each setting.
5. Compare
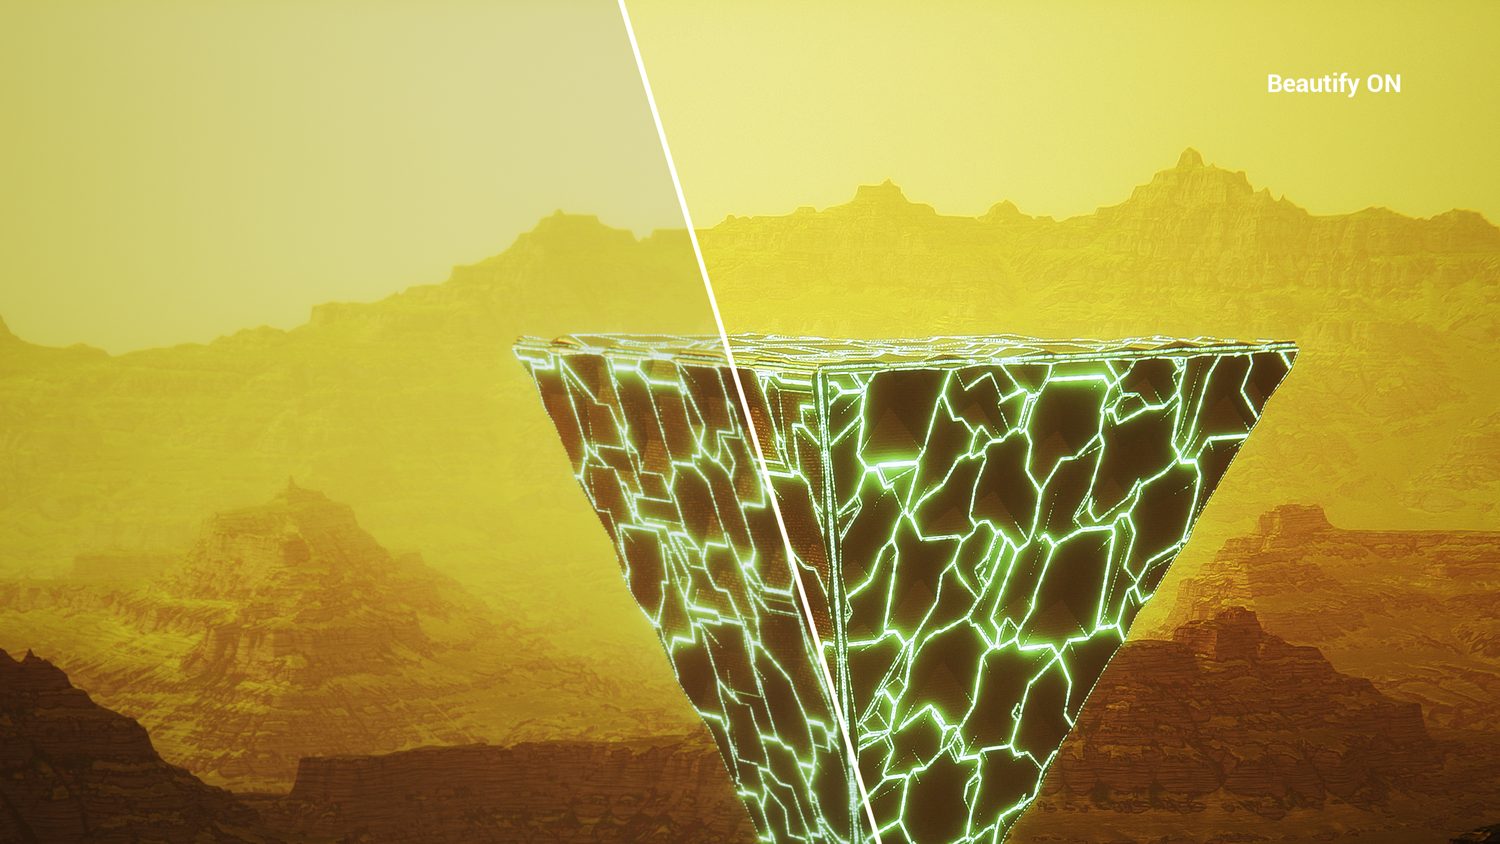
Turn on CompareMode in the CompareOptions group to see a side by side view of the scene with and without the effect. CompareAngle and CompareLineWidth change the angle and the width of the separator line. Turn Compare Mode off again when you finish comparing.
Suggest an improvement
Help us improve this documentation page.