Quick Start
beginner quick startVolumetric Lights 2 (URP) · Quick Start
Quick Start — First volumetric light in 5 minutes
Follow these steps to add a volumetric light to your URP project. No scripting required.
Step 1 — Import the package
Open Window > Package Manager, locate Volumetric Lights 2 in My Assets, and click Import. If you downloaded the .unitypackage manually, double-click it and import all files.
Step 2 — Enable Depth Texture
Select your URP Asset (found in Edit > Project Settings > Graphics). In the Inspector, enable Depth Texture. Also check any URP assets assigned in Project Settings > Quality — Depth Texture must be enabled in all of them.
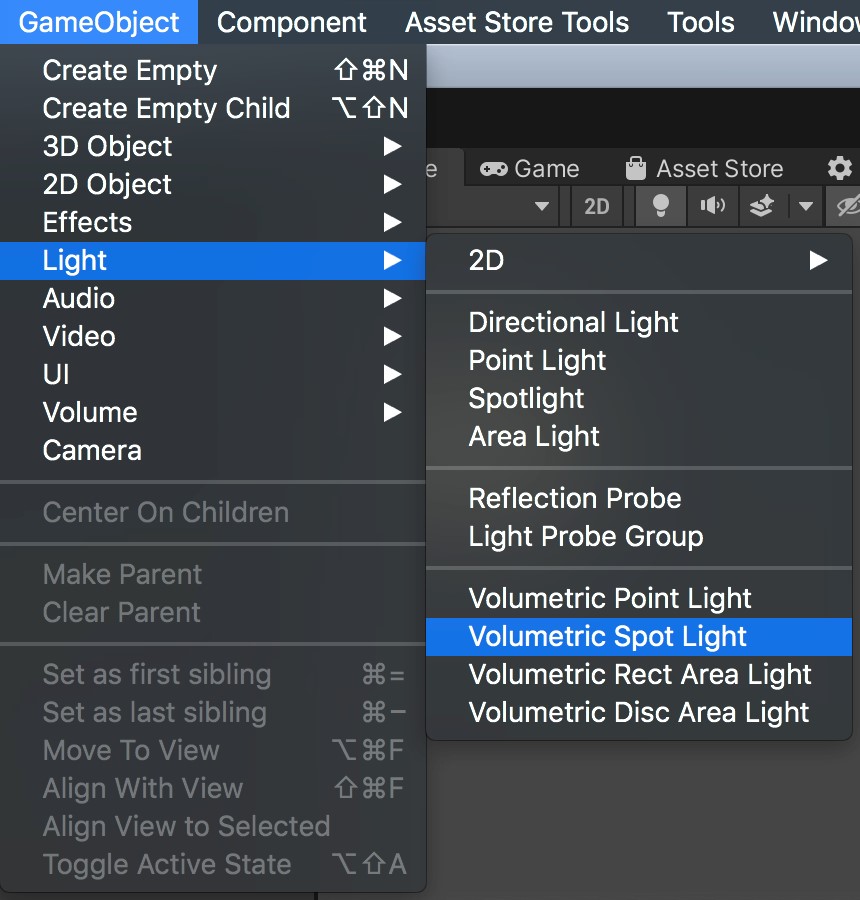
Step 3 — Add a volumetric light
Go to GameObject > Light > Volumetric Spot Light (or Point, Area). A new light with the VolumetricLight component already attached will be created.
Alternatively, select any existing light and click Add Component > Volumetric Light.
Step 4 — Enter Play mode
Press Play. You should see volumetric scattering around the light. Adjust Density and Brightness in the inspector to taste.
Optional — Add Global Blur
For smoother results on desktop, add the Volumetric Lights Render Feature to your URP Renderer. See Global Composition Blur for details.
What’s next?
- Parameters — explore every inspector option
- Direct Light Cast — project light onto surfaces
- Performance Tips — optimize for mobile and VR
Suggest an improvement
Help us improve this documentation page.