Setup
beginner conceptsBeautify 3 (URP) · Core Concepts
Prerequisites
Before setting up Beautify, make sure your project meets these requirements:
- Unity 2022.3 LTS or newer.
- Universal Render Pipeline (URP) installed via the Package Manager (Window > Package Manager > Unity Registry).
- A URP Settings asset assigned in Edit > Project Settings > Graphics and in Project Settings > Quality.
Video Walkthrough
Prefer watching? This 3-minute video covers the full setup process:
Step-by-Step Setup
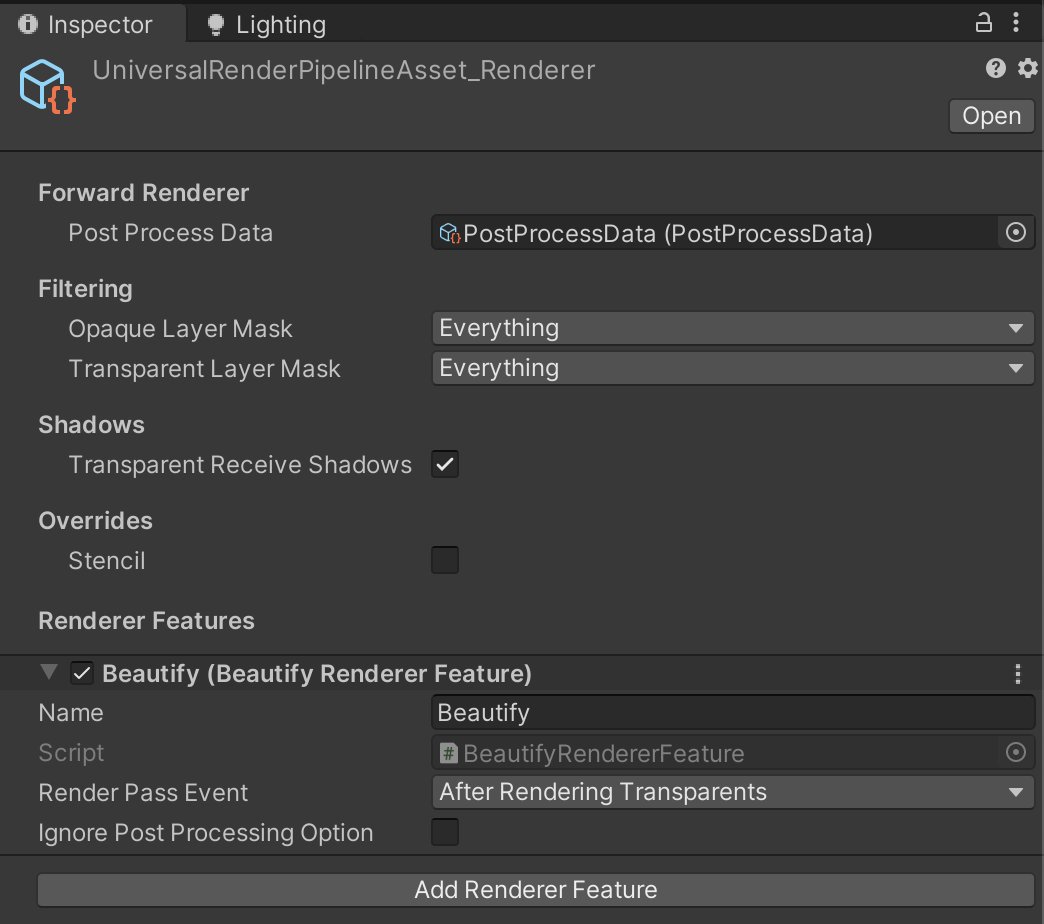
1. Add the Beautify Renderer Feature
Open your URP Renderer Data asset (the one referenced by your URP Settings asset). In the Inspector, click Add Renderer Feature > Beautify.
2. Enable Post Processing on the camera
Select your main camera and tick the Post Processing checkbox in its Inspector.
Alternatively, for better performance: leave Post Processing unchecked on the camera and enable Ignore Post Processing Option in the Beautify Renderer Feature instead. This bypasses Unity's post-processing stack entirely, saving a full-screen blit — recommended on mobile.
3. Create a Volume with Beautify
Add a Global Volume to your scene (right-click Hierarchy > Volume > Global Volume). If you already have one, select it.
In the Volume component:
- Click Add Override.
- Navigate to Kronnect > Beautify.
- Enable the effects you want by ticking their checkboxes and adjusting values.
4. Verify
Enter Play Mode or check the Game view. You should see Beautify effects applied. Toggle the override on/off in the Volume to compare before and after.
Build Settings (optional)
To reduce build time and size, open the Beautify Renderer Feature and expand Build Options. Disable any effects you won't use — this strips their shader variants from the build.
See Build Tips for detailed guidance on platform-specific optimizations.
Next Steps
- Parameters Reference — explore every Beautify setting in detail.
- Demo Scenes — open pre-configured examples to see effects in context.
- Scripting Support — control Beautify effects from C# code.
Suggest an improvement
Help us improve this documentation page.